
09 Jul 2024

Dhaval Gajjar

09 Jul 2024

Dhaval Gajjar
In this tutorial, we’ll explain you through the process of integrating ActiveCampaign with Textdrip using Automation Studio which allows you to leverage the power of Textdrip’s automated SMS marketing features alongside ActiveCampaign’s robust email marketing and CRM capabilities.
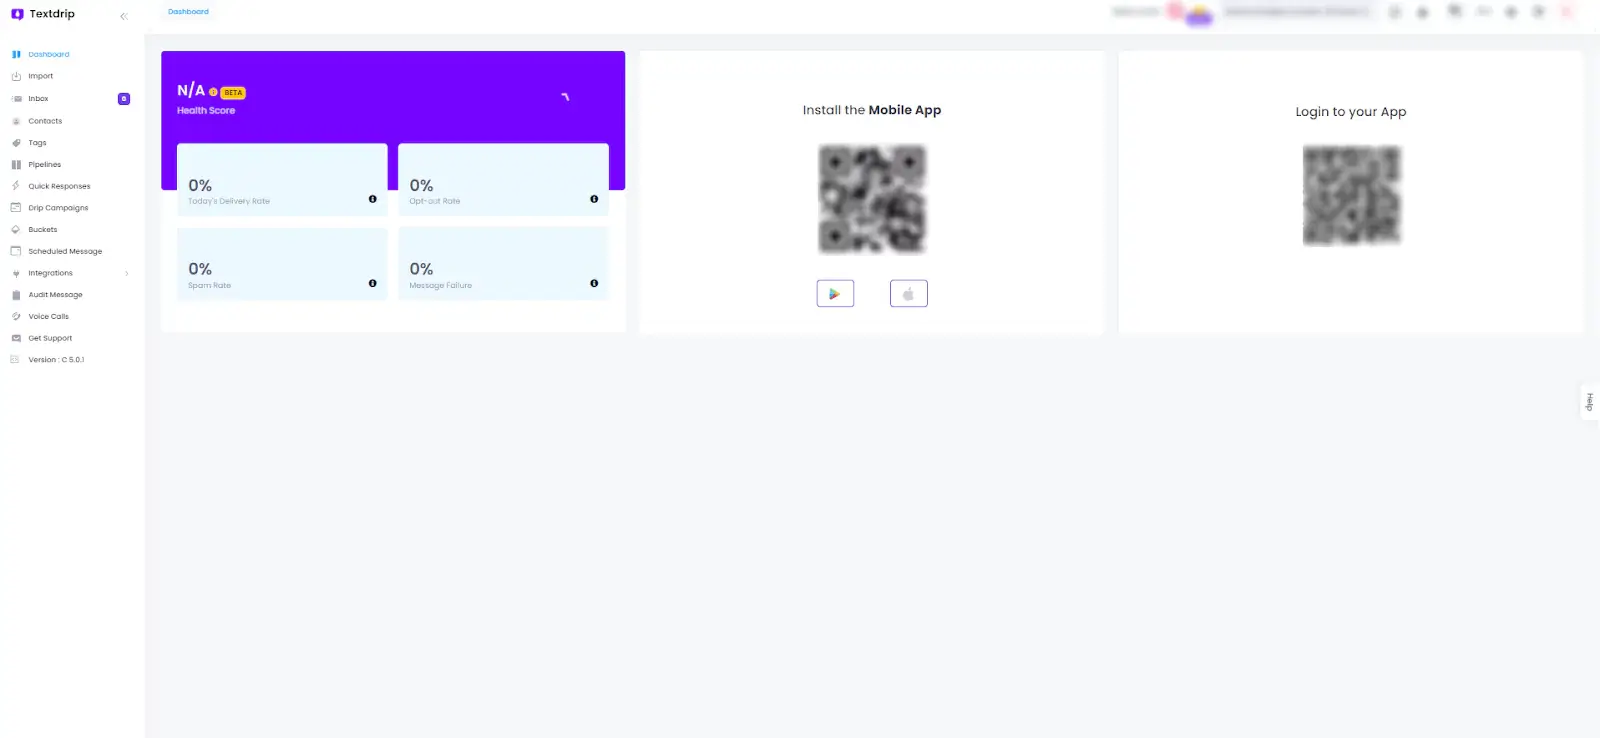
Go to app.textdrip.com and log in with your credentials. After logging in, you will see the main Dashboard screen. On the right side of the Main Dashboard, you can see various Textdrip features.
To move forward with the integration process, Click on “Integration” in the main menu. Below the “Integration” section, you will see various sub-features. Click on “Automation Studio”.
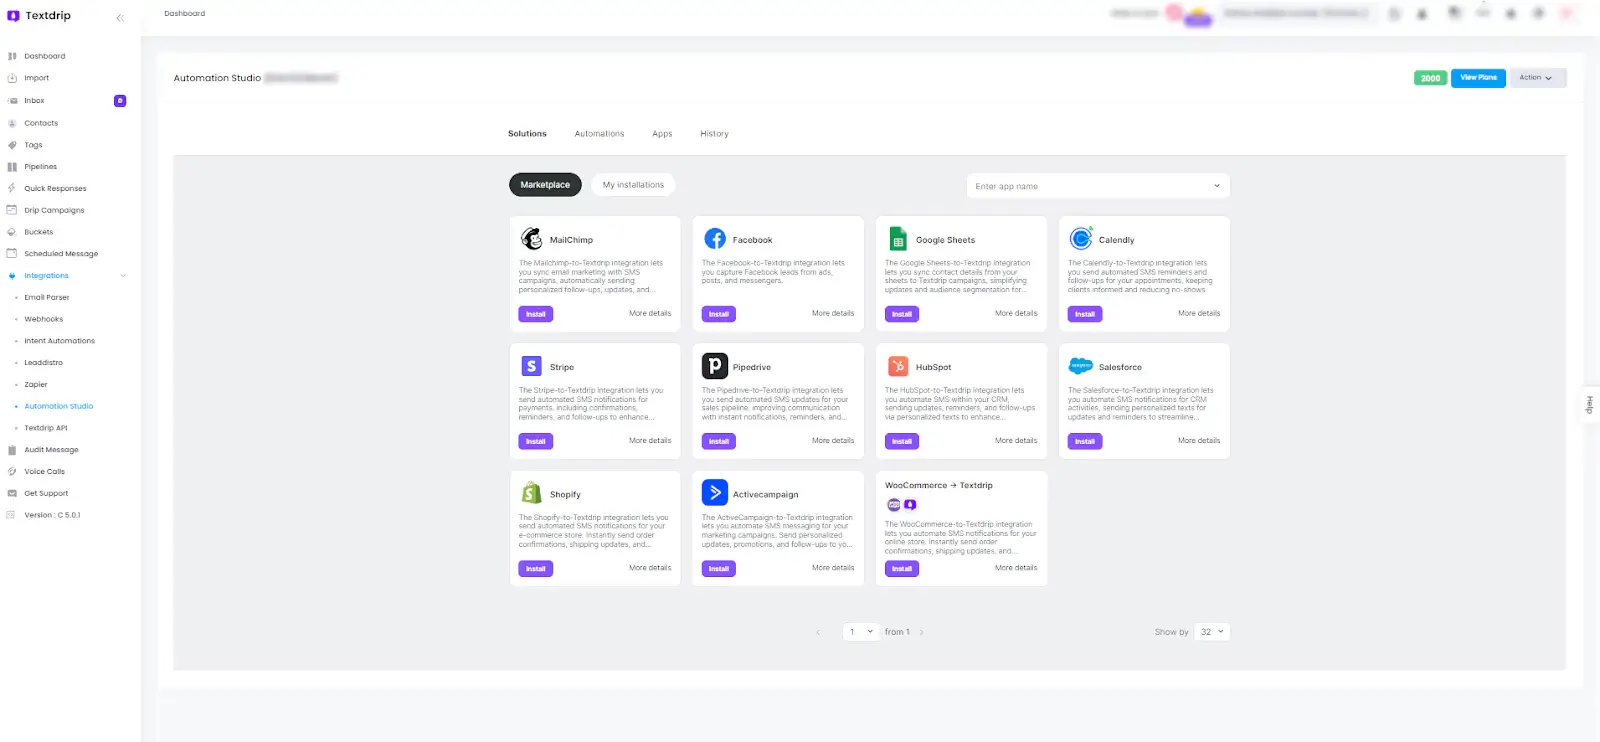
On the Automation Studio screen, you will find various integration options available. Locate the “ActiveCampaign” and click on the “Install” button.
After clicking the “Install” button, you need to select an integration scenario. The available scenarios include:
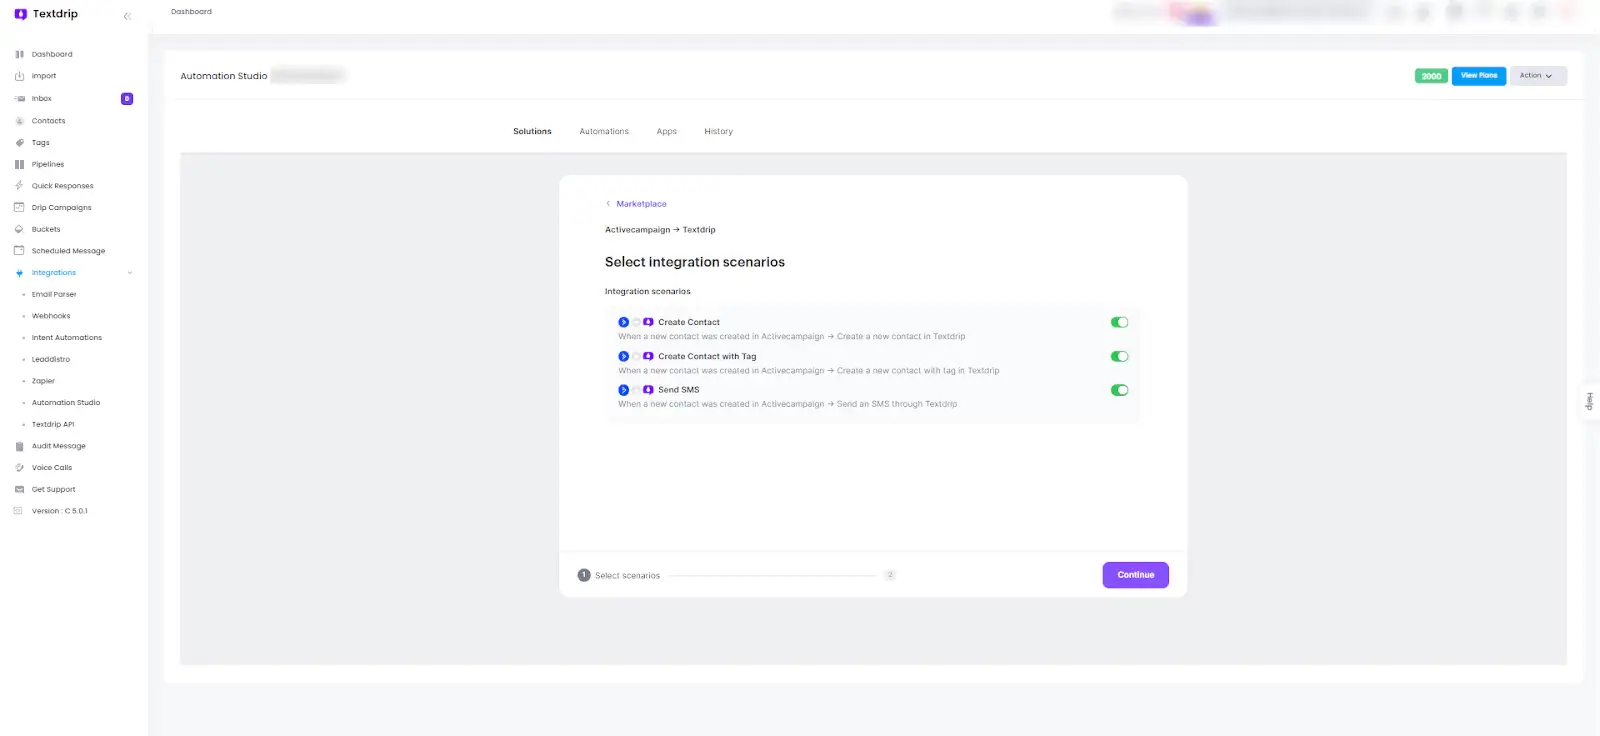 After selecting the appropriate scenario based on your needs, click “Continue” to move forward.
To set up your connection with ActiveCampaign, click on “Grant Access”.
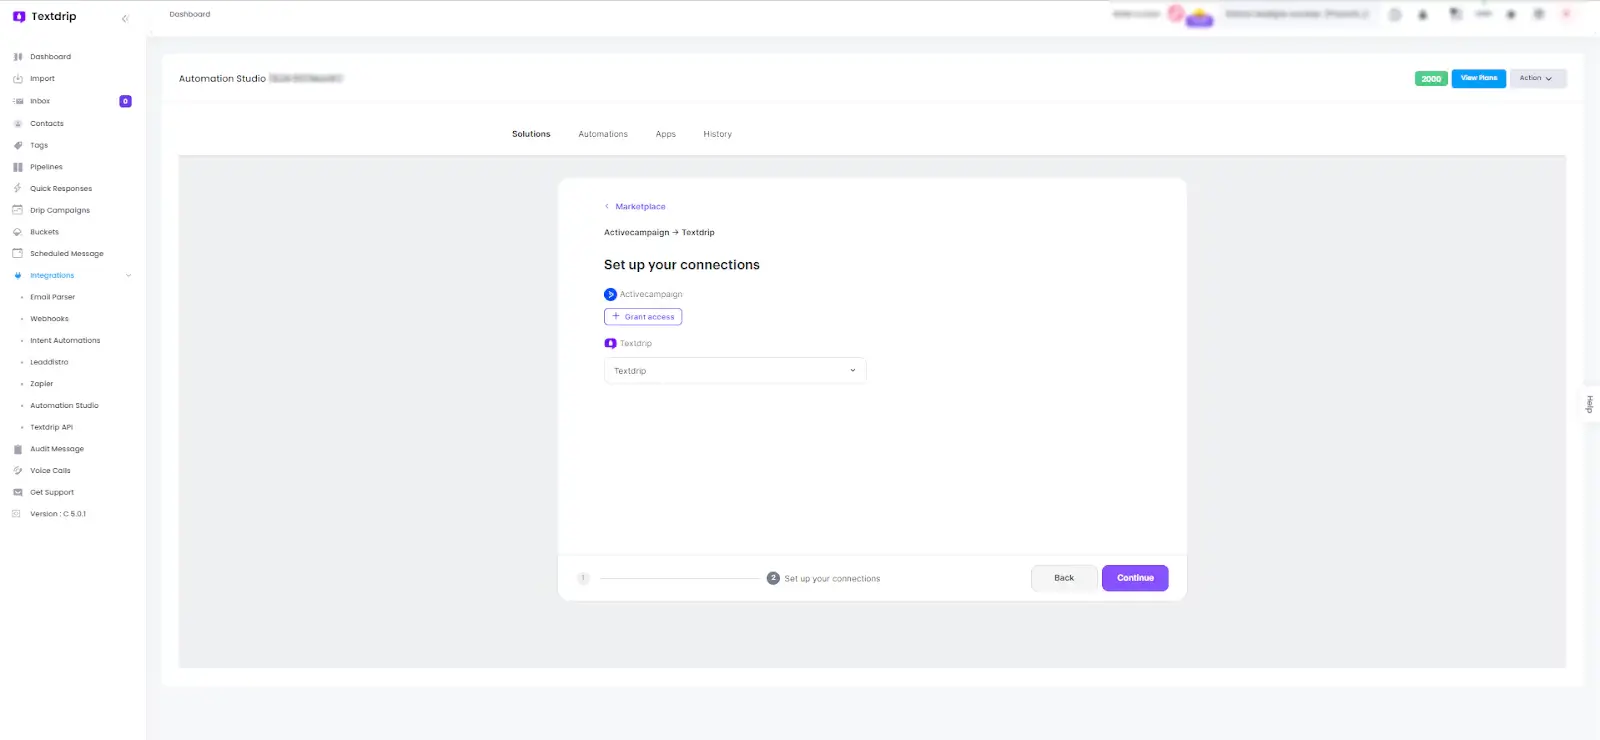 As per below screen, A pop-up window will appear. Fill in the required details, including:
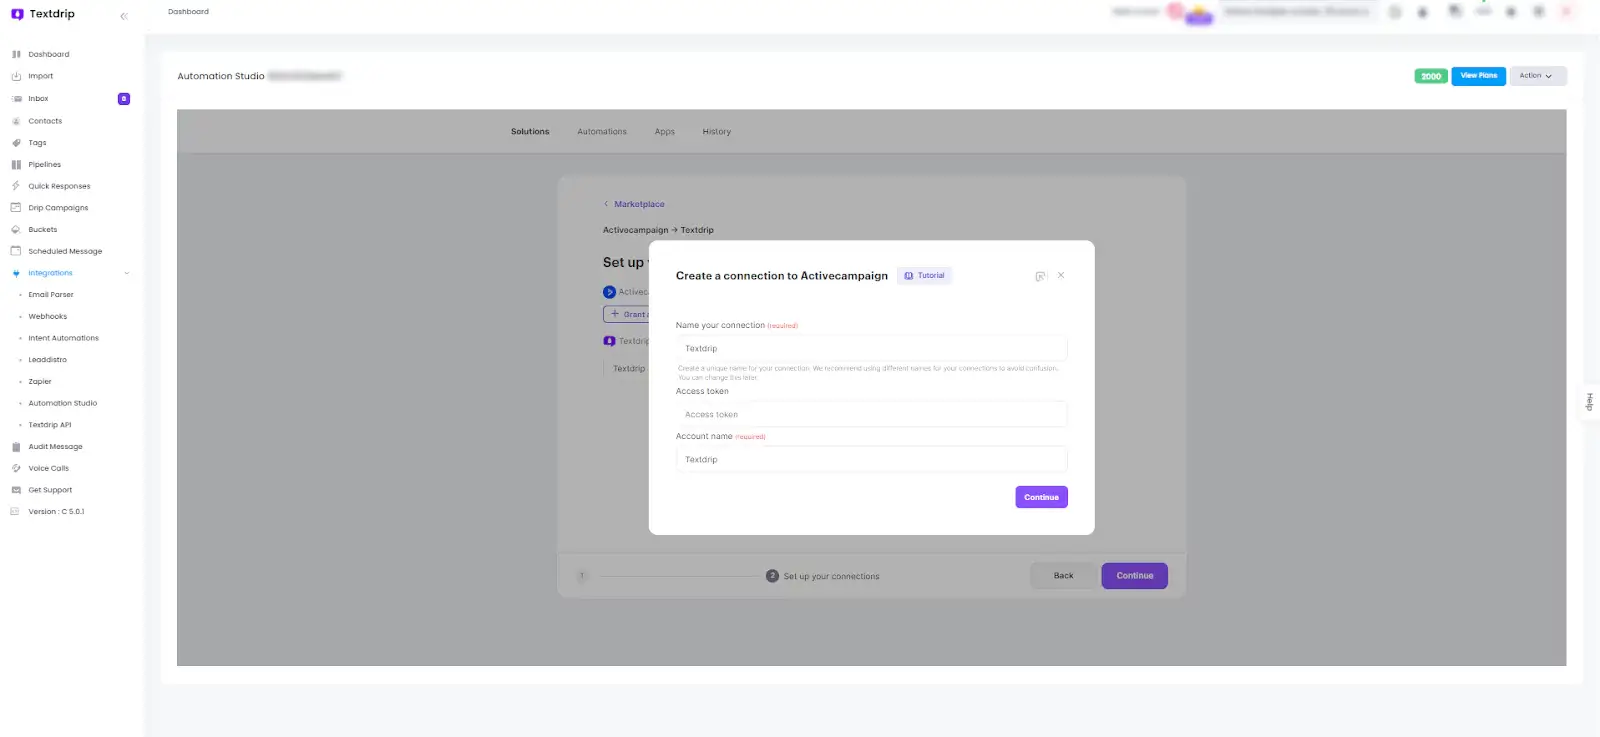
To get those details specifically the access token which is “API Key”. Go to your ActiveCampaign admin account and log in with your credentials. Navigate to the Main Dashboard.
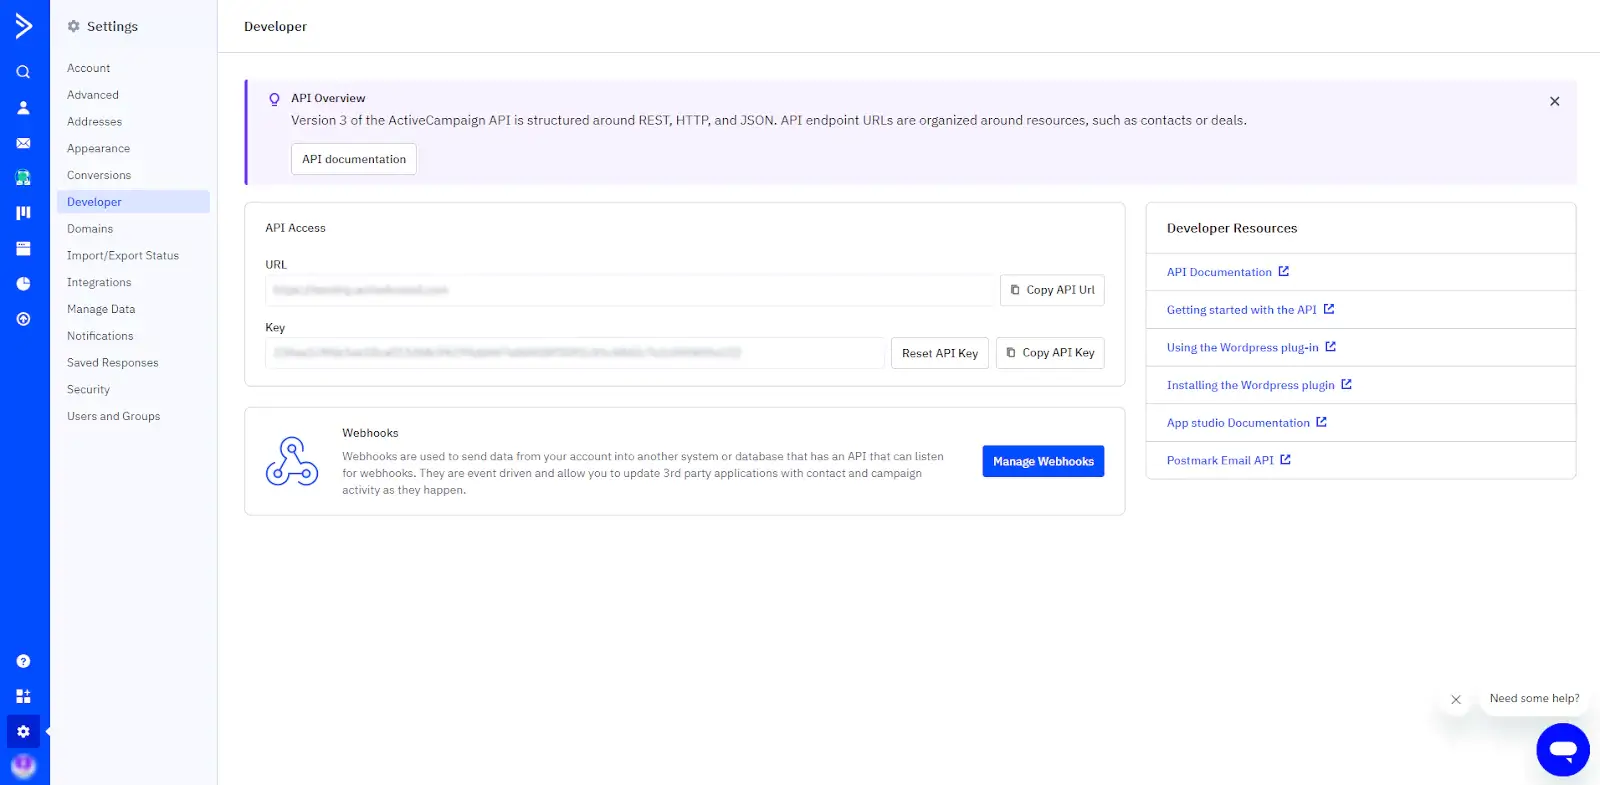 On the Main Dashboard, look for the “Settings” symbol in the lower-left corner and click on it. In the Settings menu, click on “Developer”. In the Developer section, you will find your API Key. Click on “Copy API Key” to obtain it.
After obtaining the API key from ActiveCampaign, return to Textdrip. Paste your API key in the “Access Token” field along with other required details. Click on “Continue” to successfully create your connection.
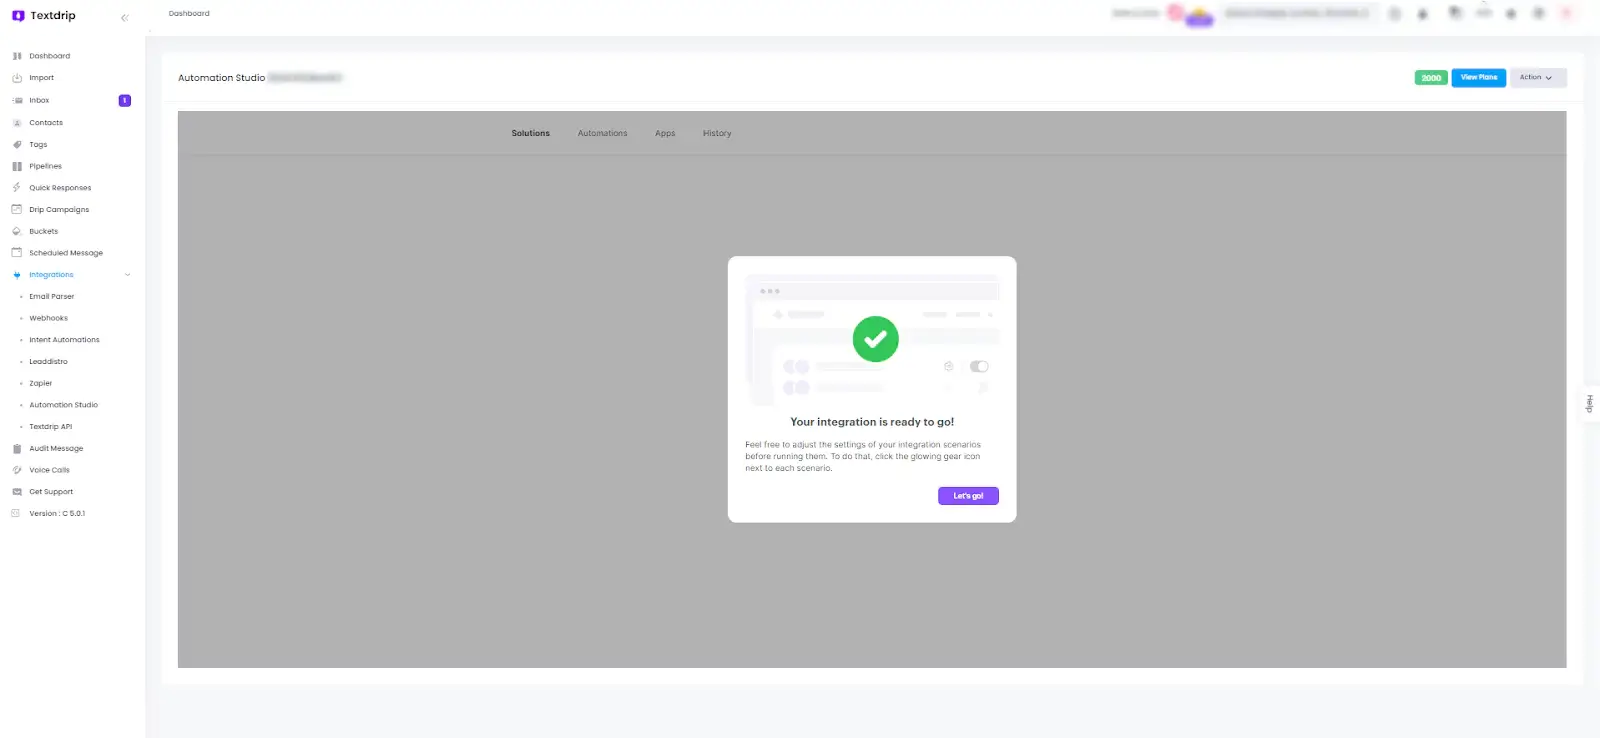
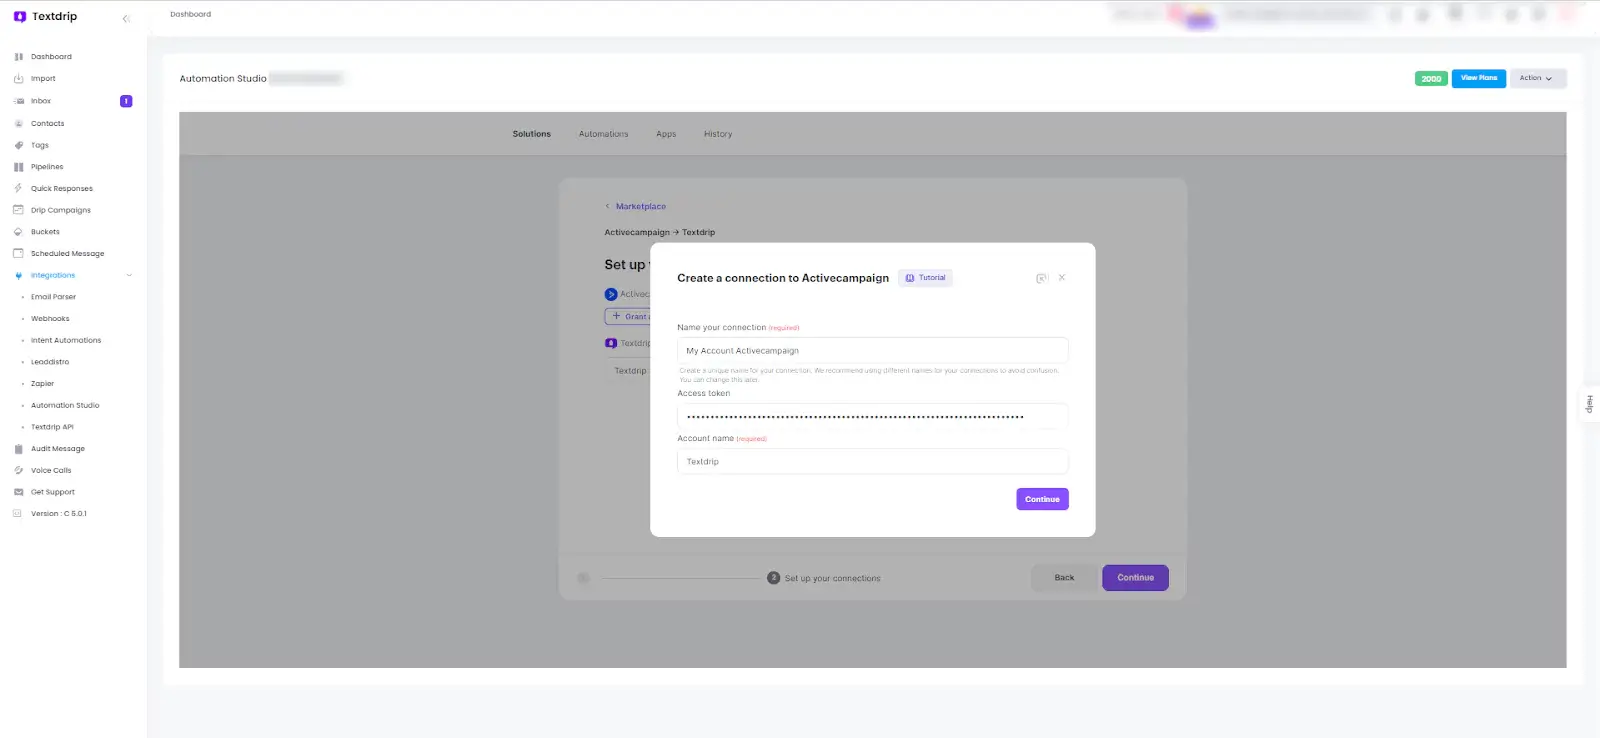 By clicking on “Continue”, your integration is now ready to go. Congratulations!
 To get more insights, you can click here.