
08 Aug 2024

TJ Gaushas


08 Aug 2024

TJ Gaushas
Welcome to this tutorial on integrating Shopify with Textdrip using Automation Studio. This integration will help you automate SMS notifications for your Shopify store which will increase customer engagement and improve your marketing efforts. By the end of this tutorial, you’ll be able to set up automated SMS messages triggered by various Shopify events, such as when someone subscribes, joins your list, or opts in for automated messages.
To get started with the integration process, go to app.textdrip.com and log in with your credentials which will redirect you to the main dashboard.
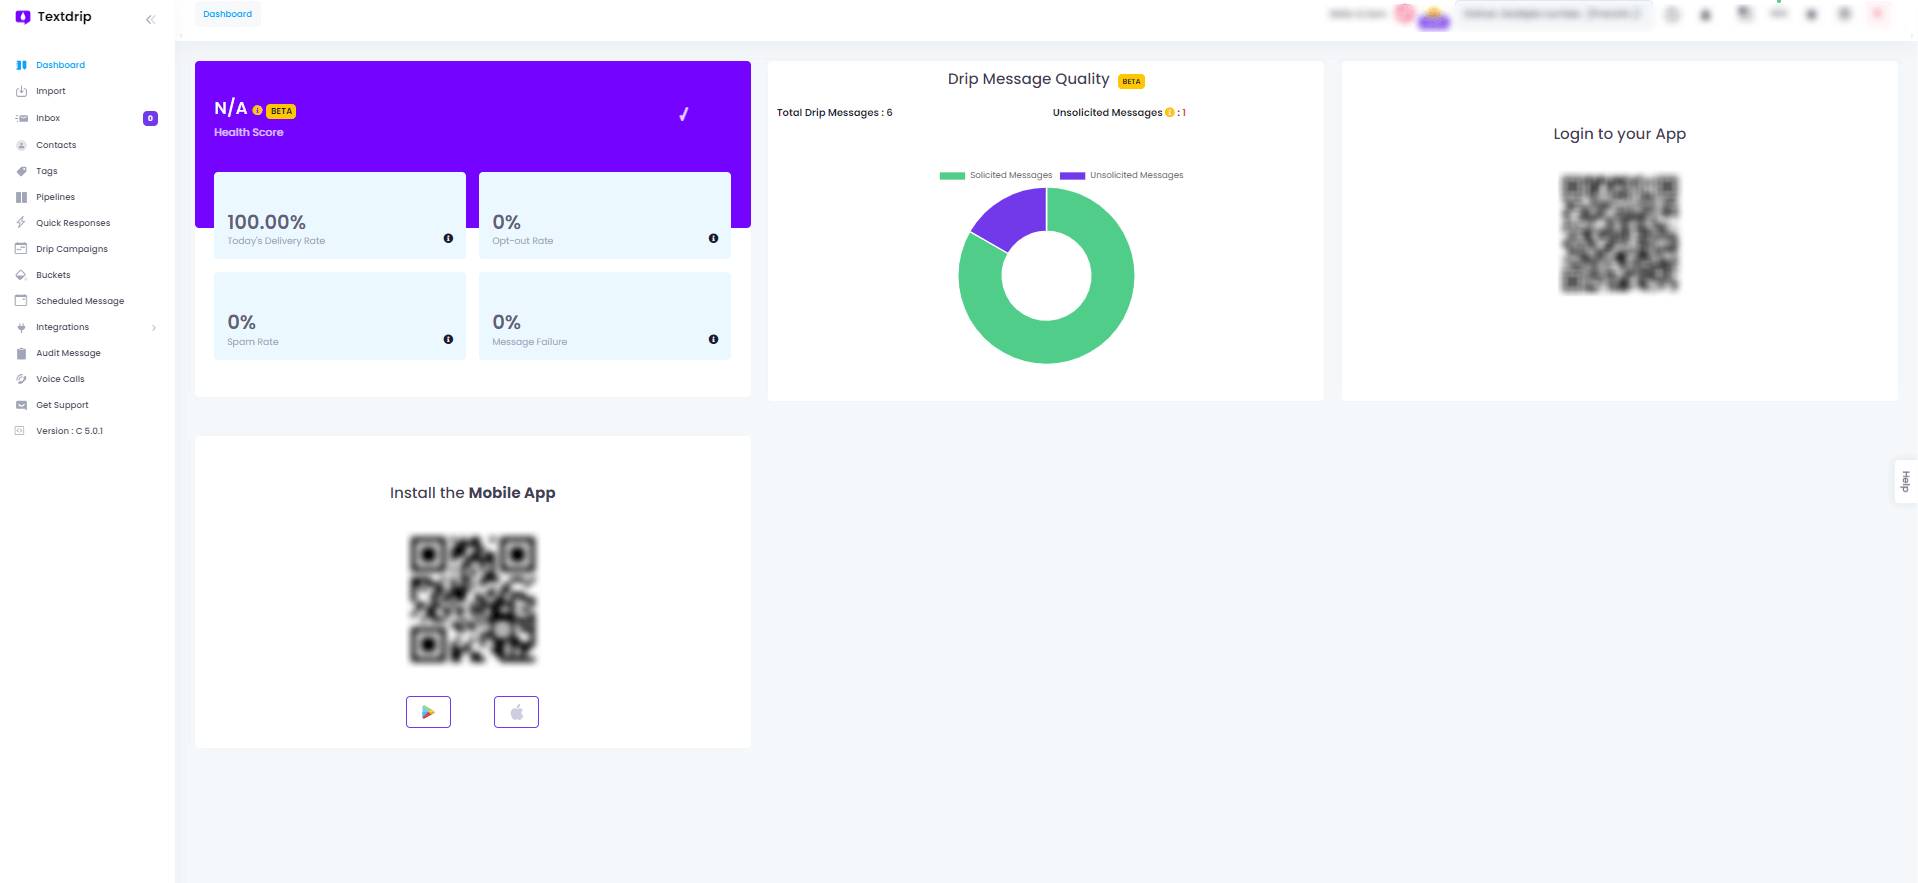
On the main dashboard, look at the left side panel, which includes various options. Click on the ‘Integration’ option; this will open a new submenu. From the submenu, choose ‘Automation Studio’ and click on it.
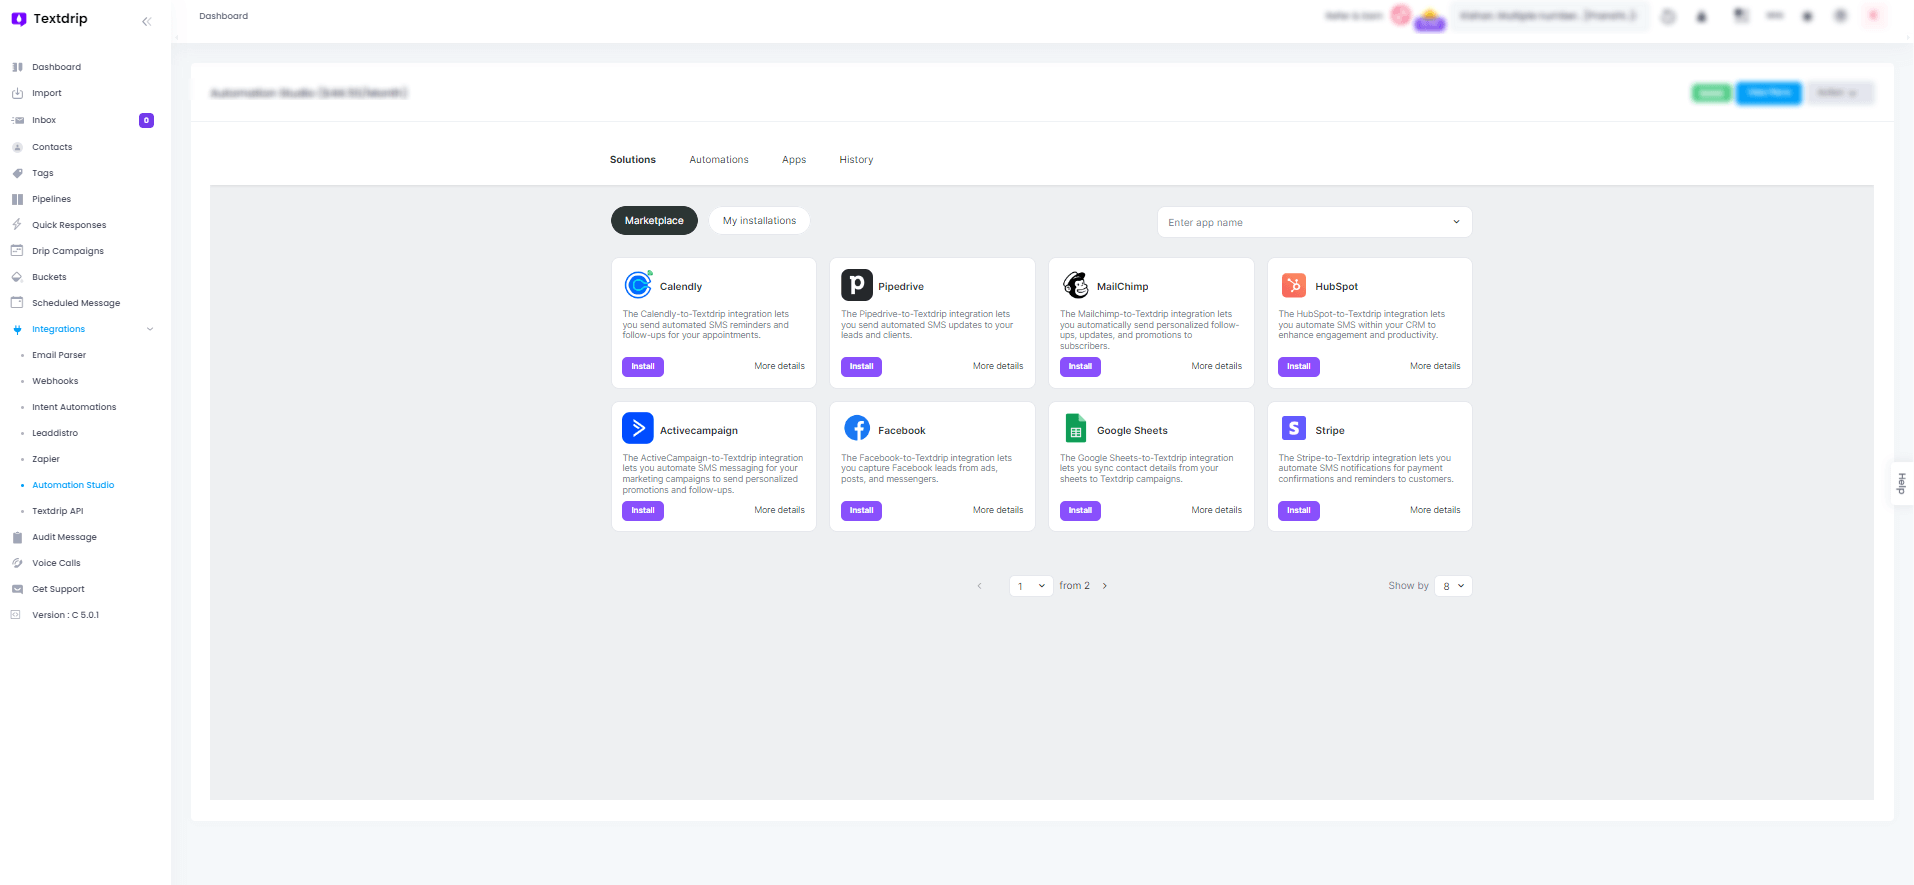
In Automation Studio, navigate to the panel where you can see various available application options for integration. Use the search bar to locate the Shopify application. Click on the search bar and type ‘Shopify.’
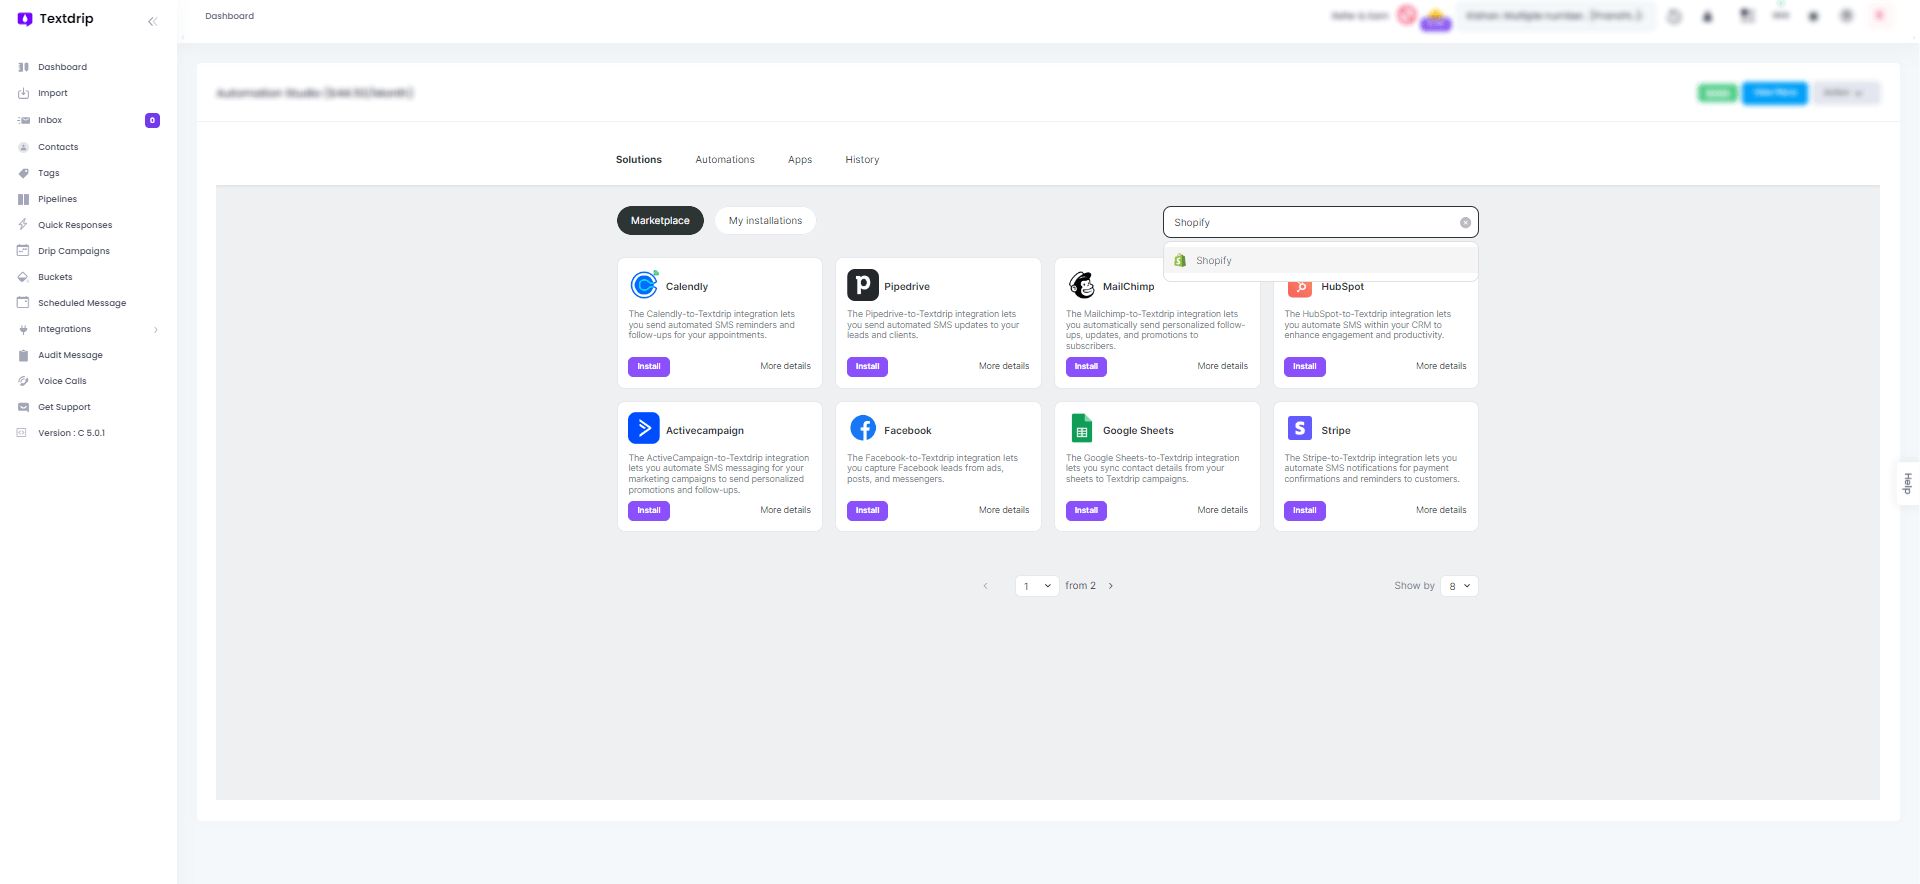
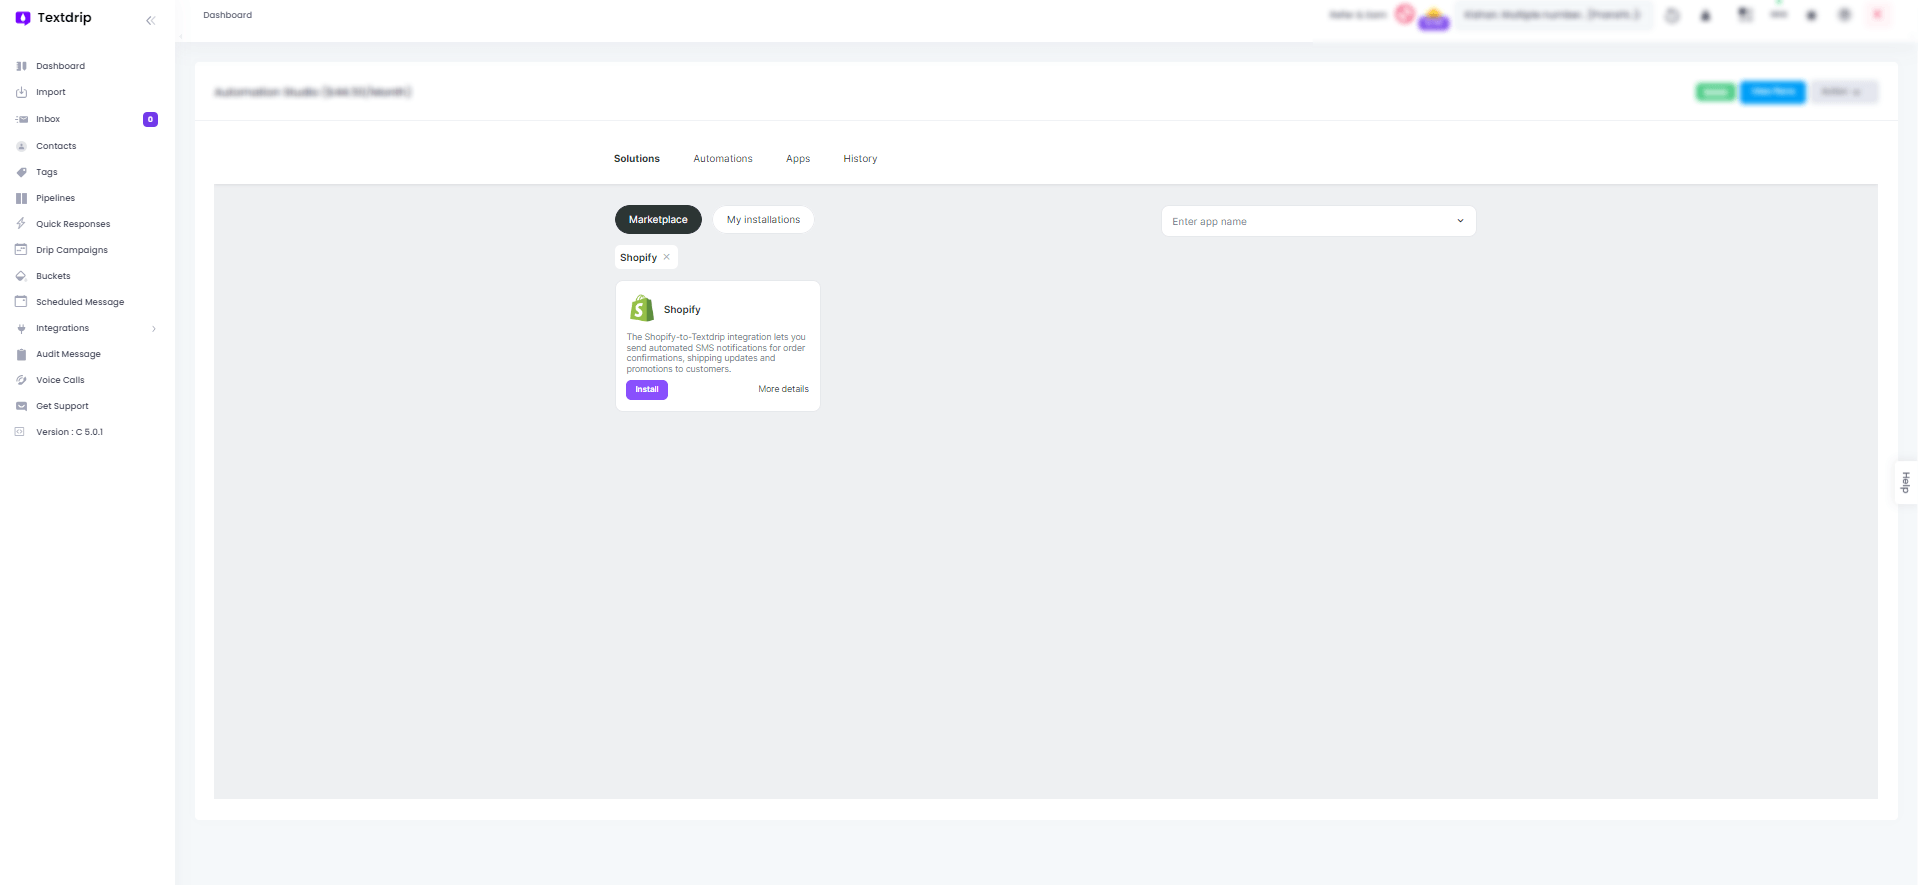
From the search results, find and click on the Shopify application You will be redirected to the main integration screen for Shopify. Click on the ‘Install’ button to begin the integration process.
After clicking on the ‘Install’ button, you will be presented with various integration scenarios. Here, you need to choose the best scenario according to your preference, which will allow you to configure how Shopify and Textdrip will interact based on the chosen scenario.
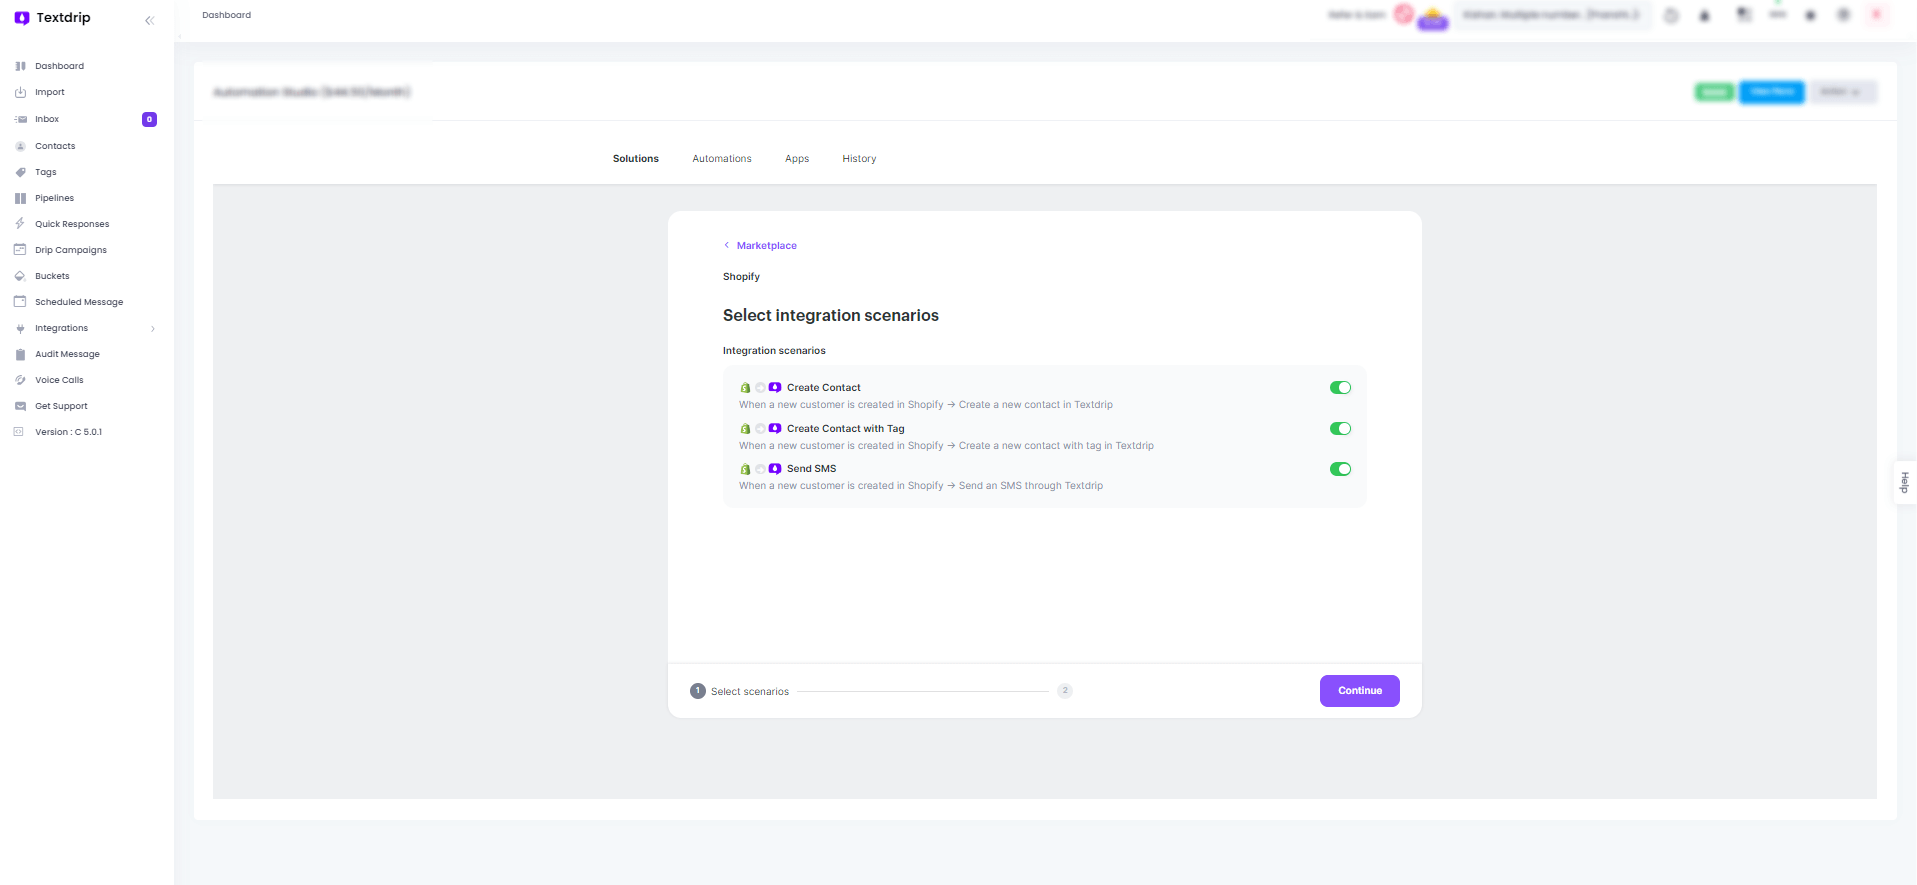
By choosing the integration scenario that best fits your needs, click on the ‘Continue’ button to move forward with the setup.
To set up the connection between Shopify and Textdrip, click on the ‘Grant Access’ button.
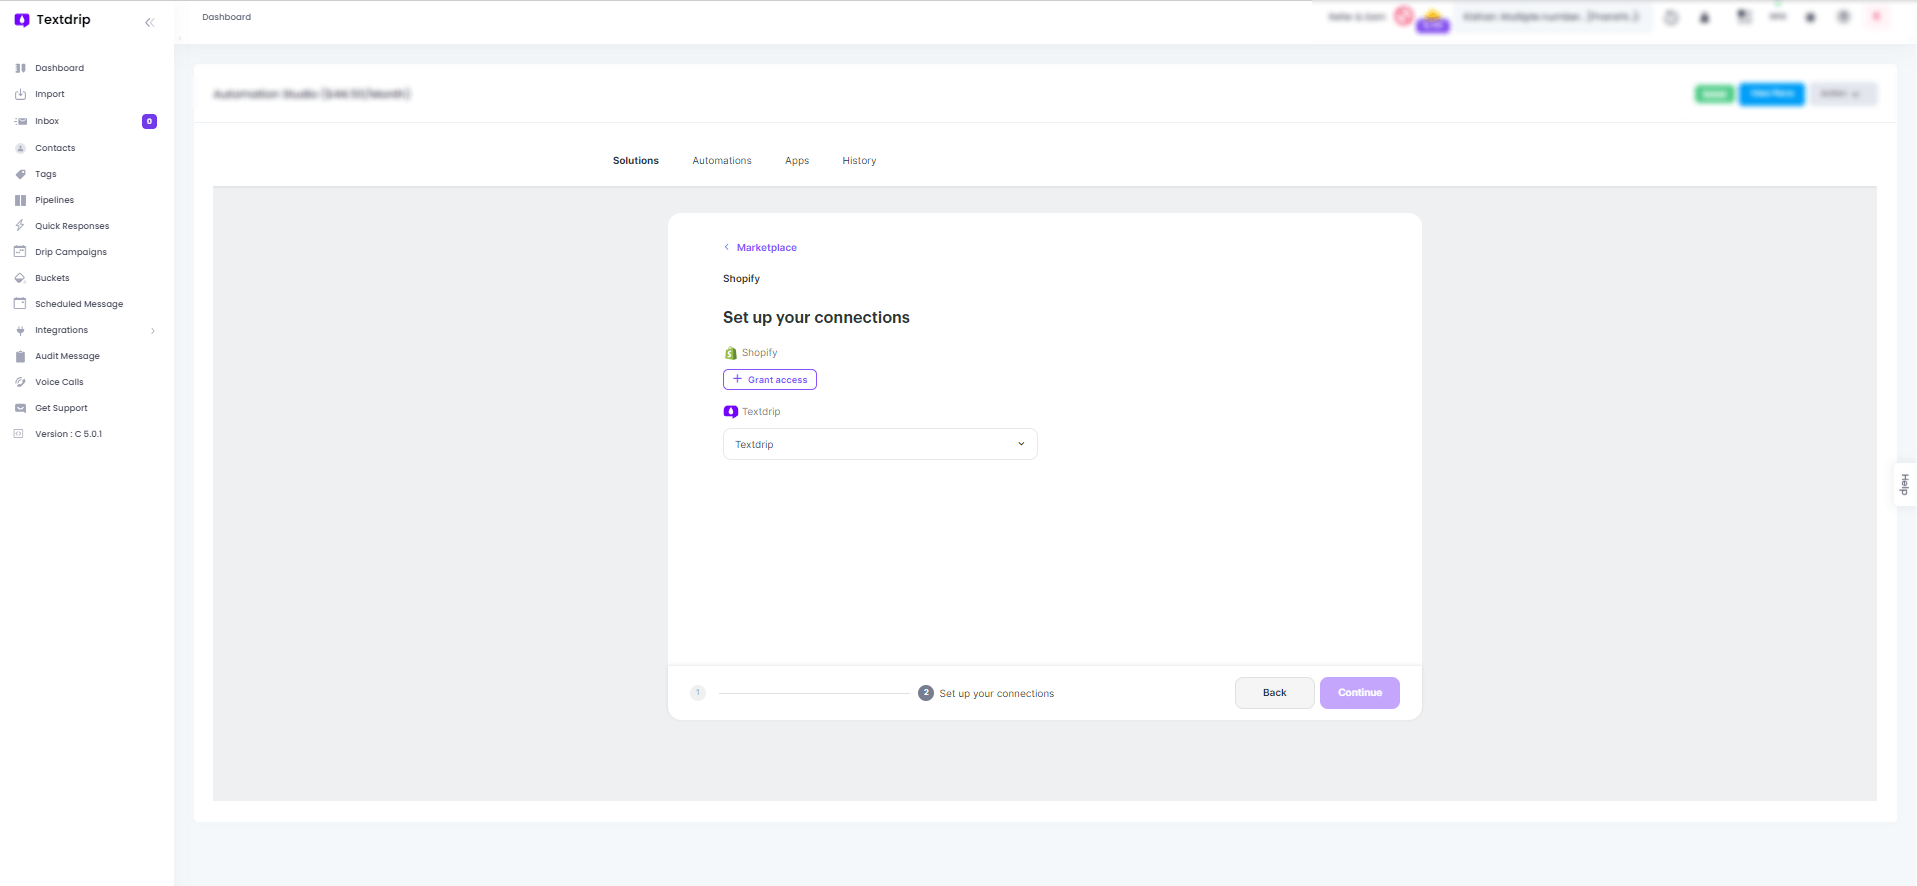
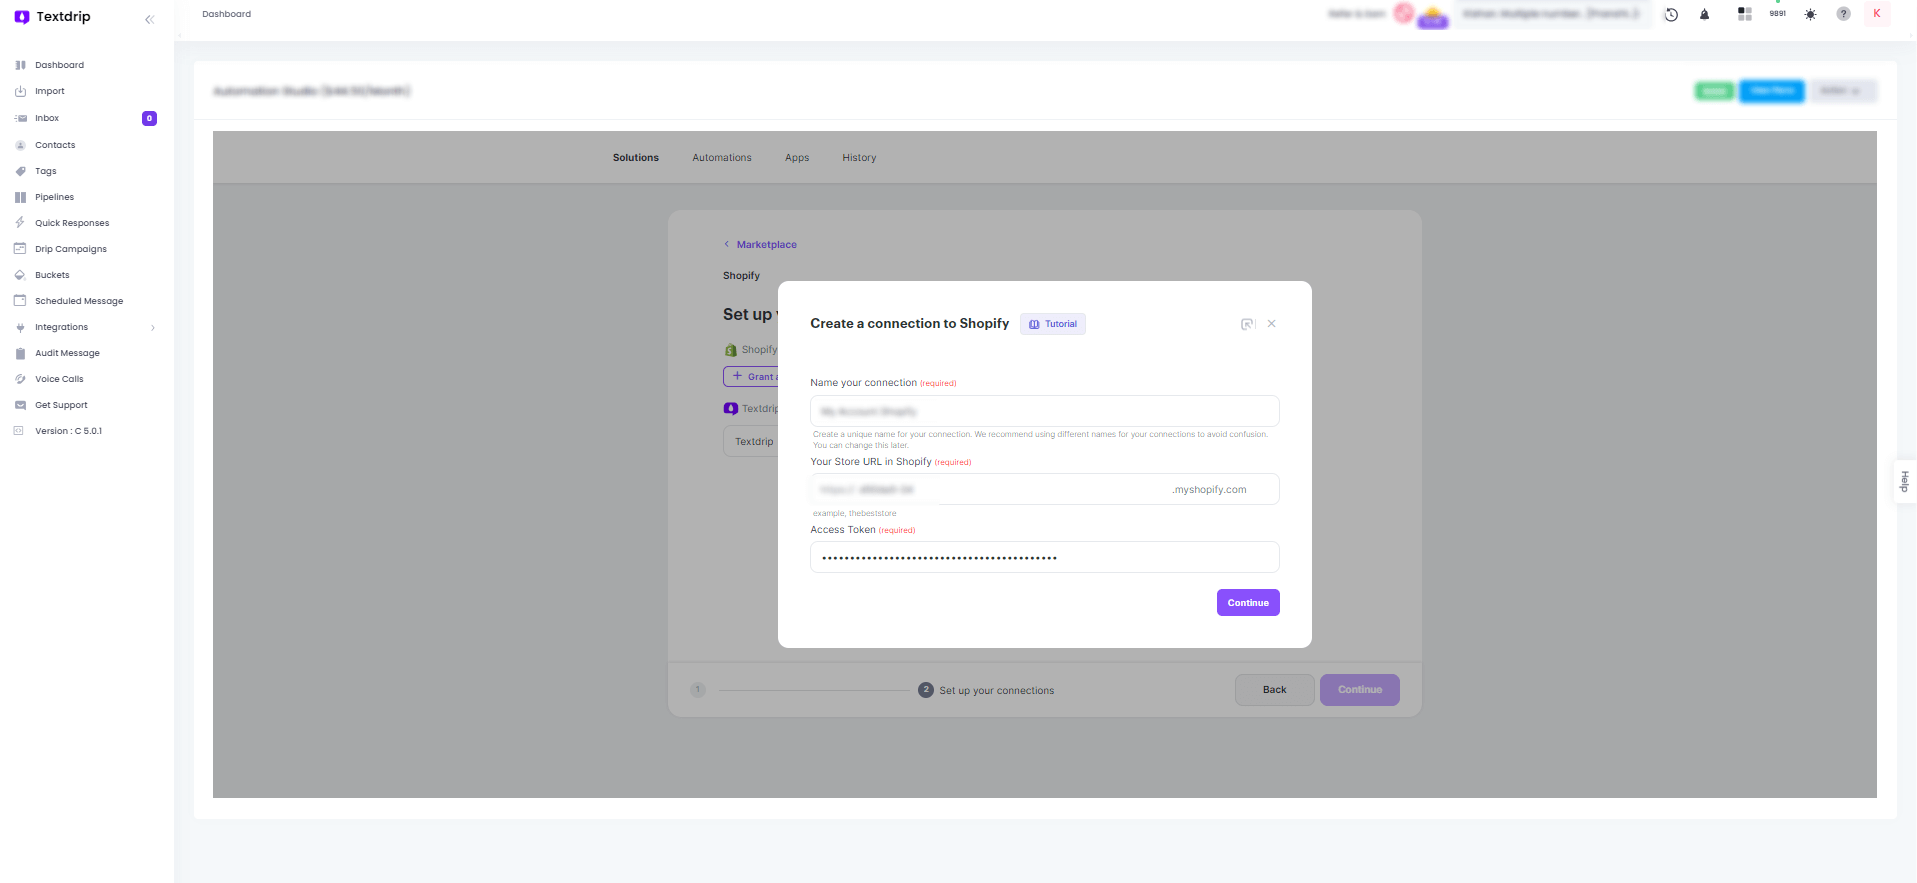
A new popup window will appear where you need to provide the following details:
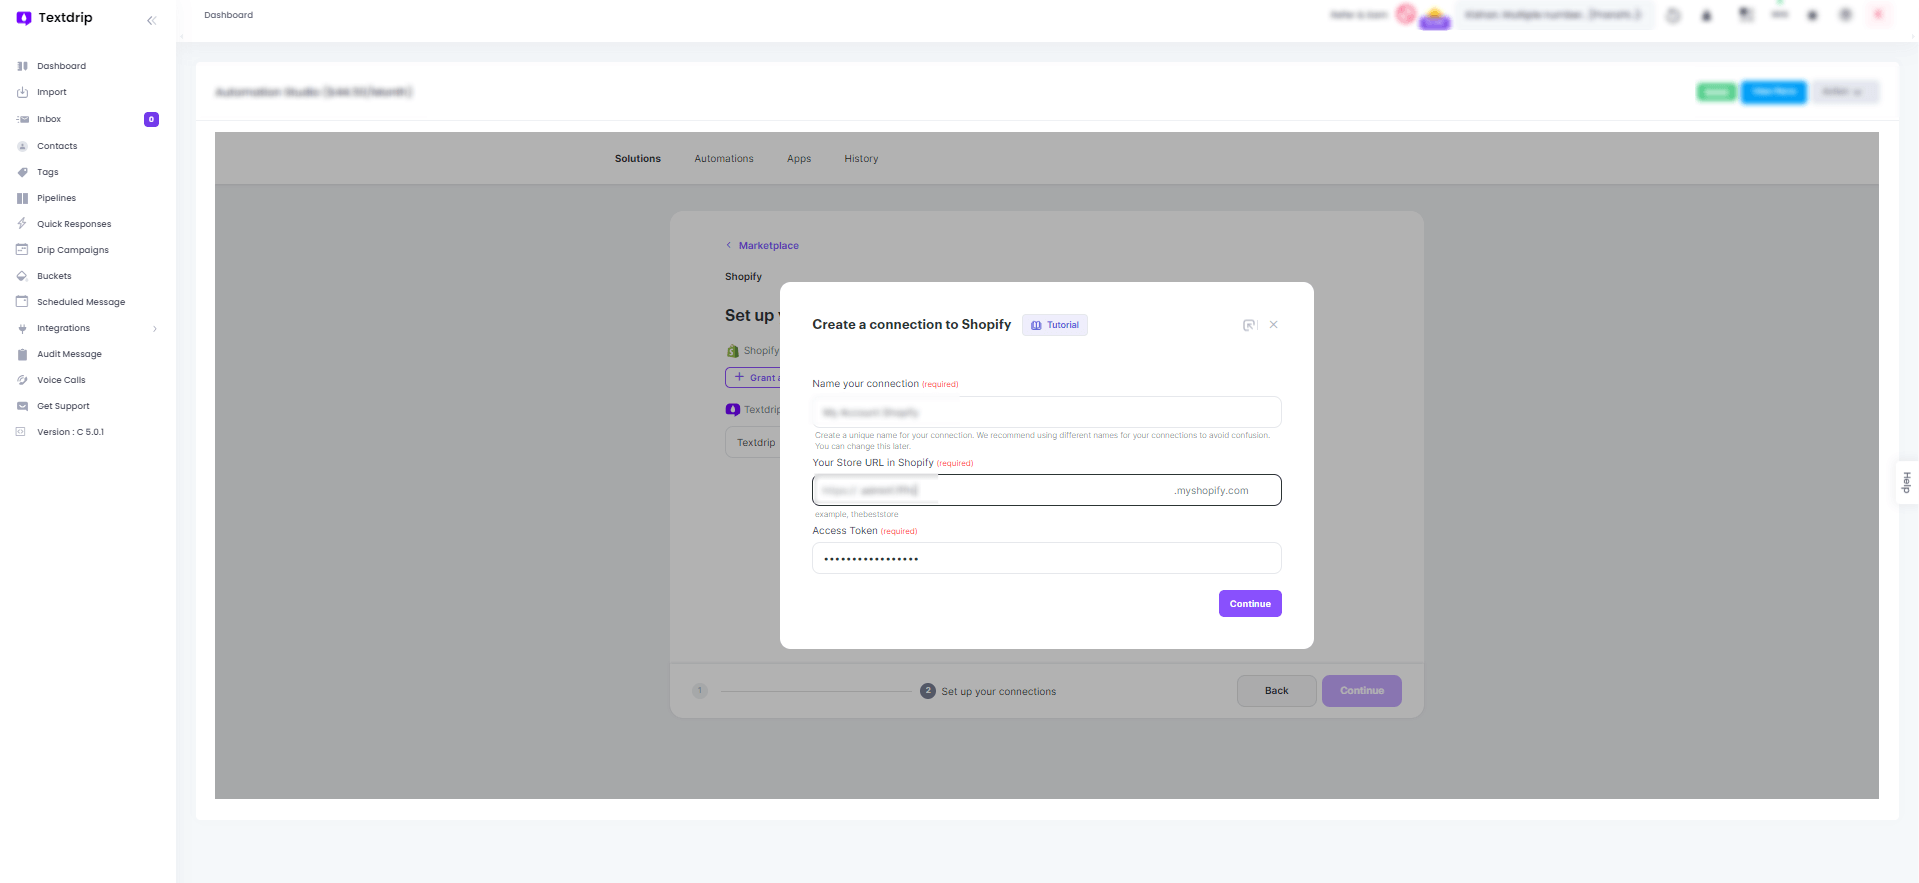
Sign in to your Shopify account. Copy the URL from the address bar of your Shopify admin dashboard. This is your Store URL.
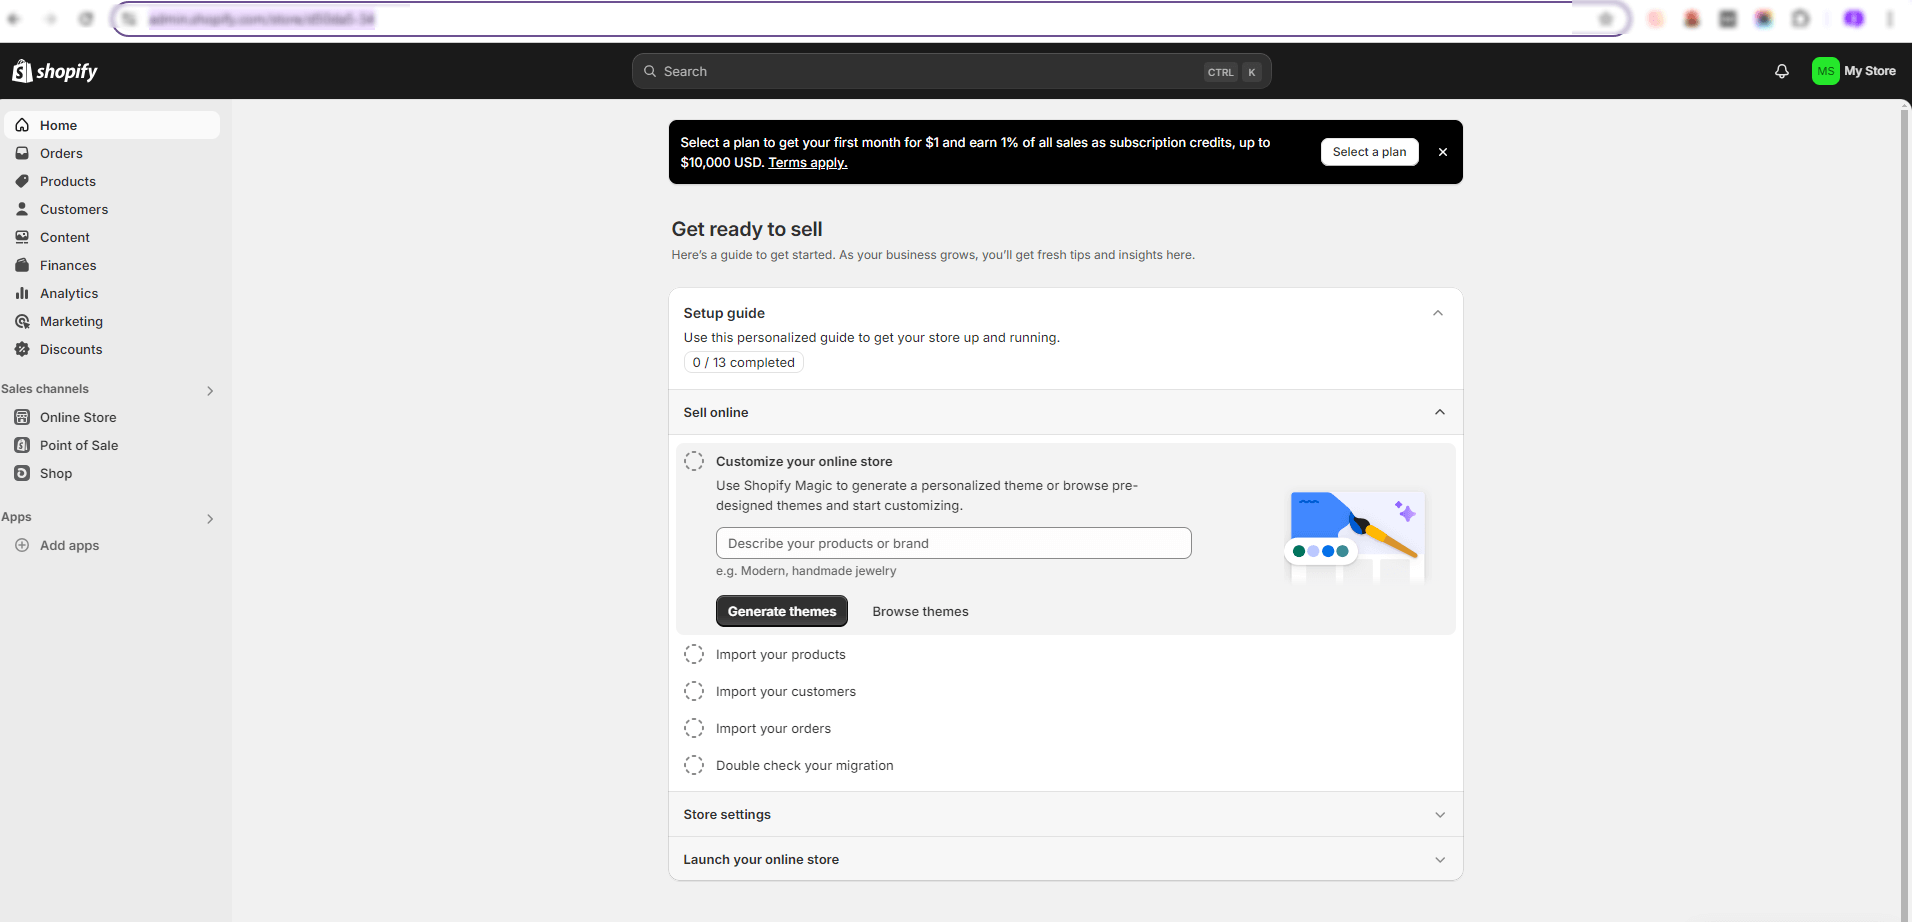
Now it’s time to activate the custom API and create your private app to get your Access Token. To do this, type ‘manage app and sales channel‘ in the search bar and click on it.
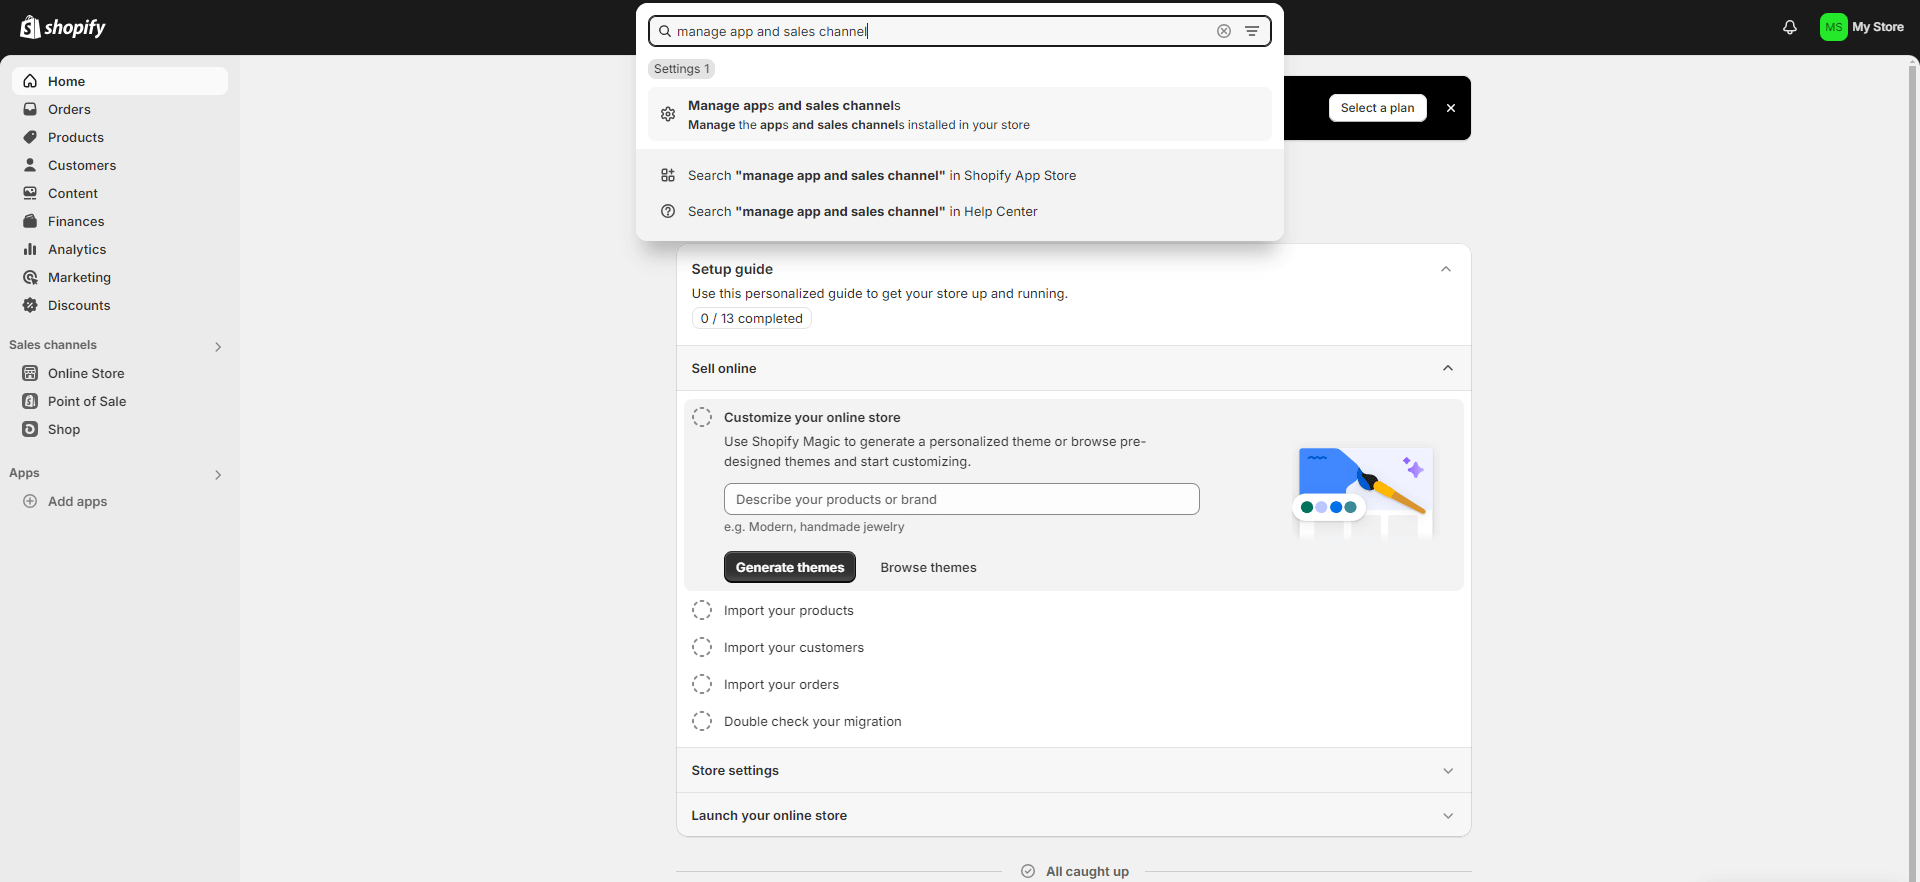
By clicking on ‘Manage apps and sales channels’, you will be redirected to the dashboard for apps and sales channels. Click on the ‘Develop apps’ button located in the dashboard.
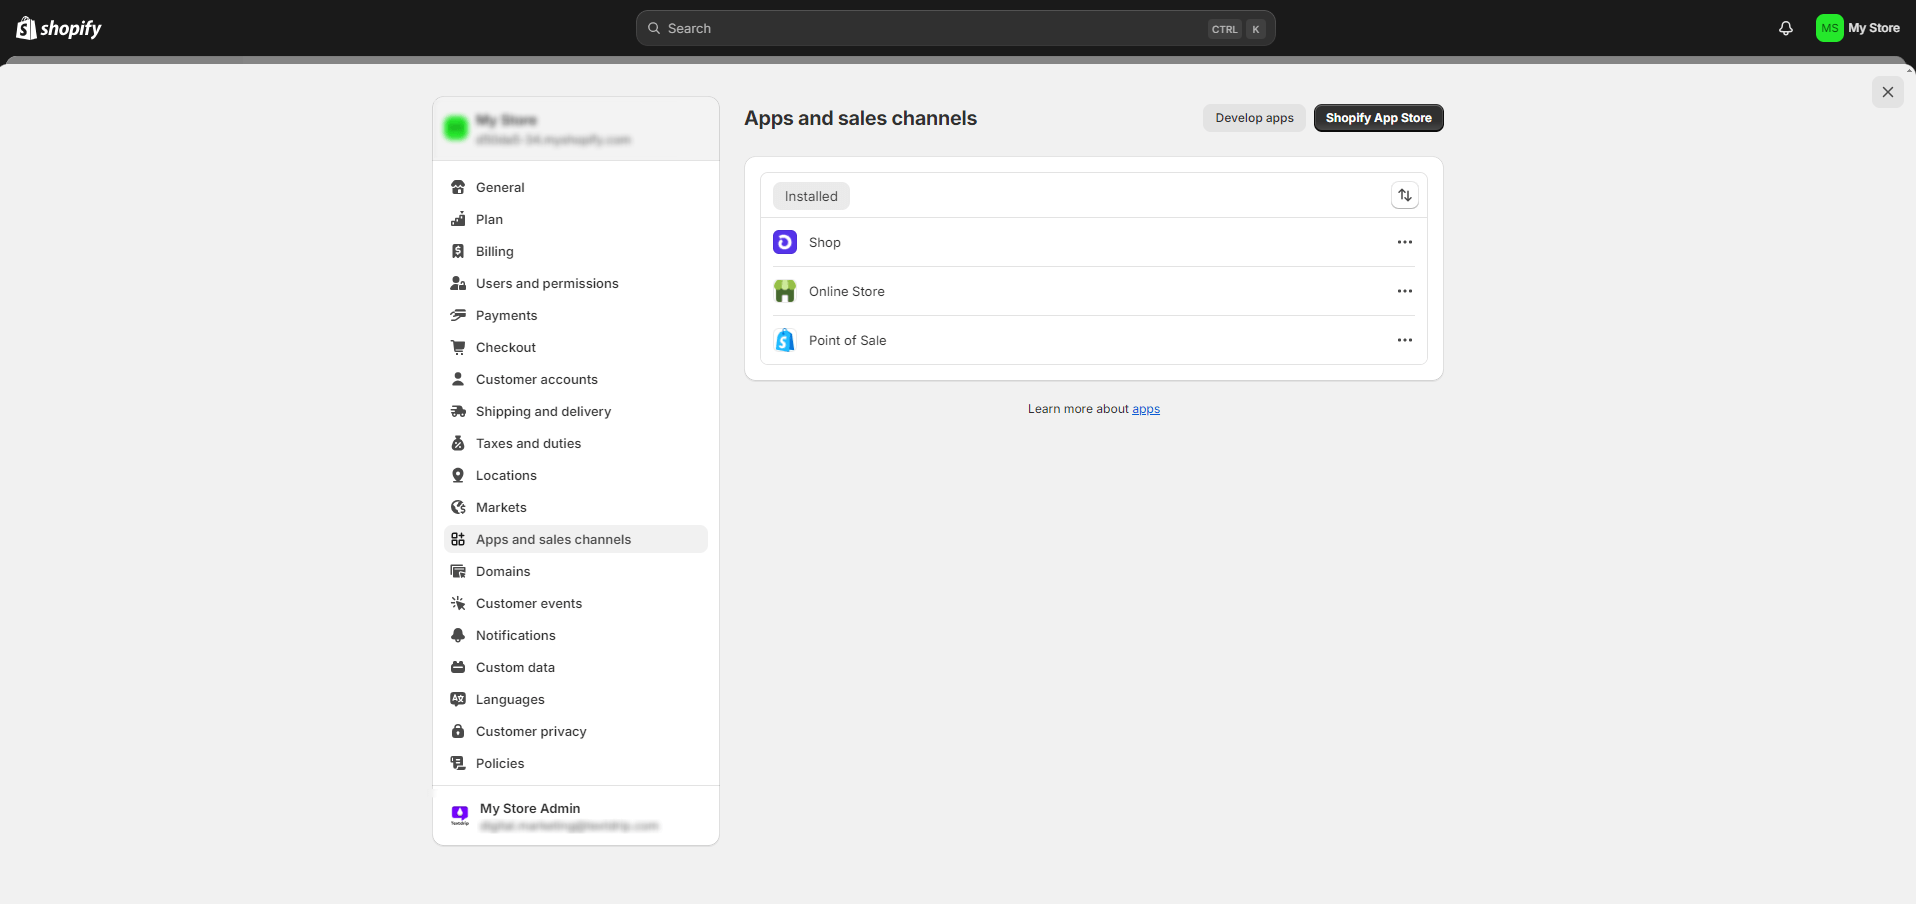
In the ‘Develop apps’ section, click on ‘Create app’.

A popup window will appear where you need to enter the name of your app. Choose a name that represents your store and the purpose of the app. After entering the app name, click on ‘Create app’.
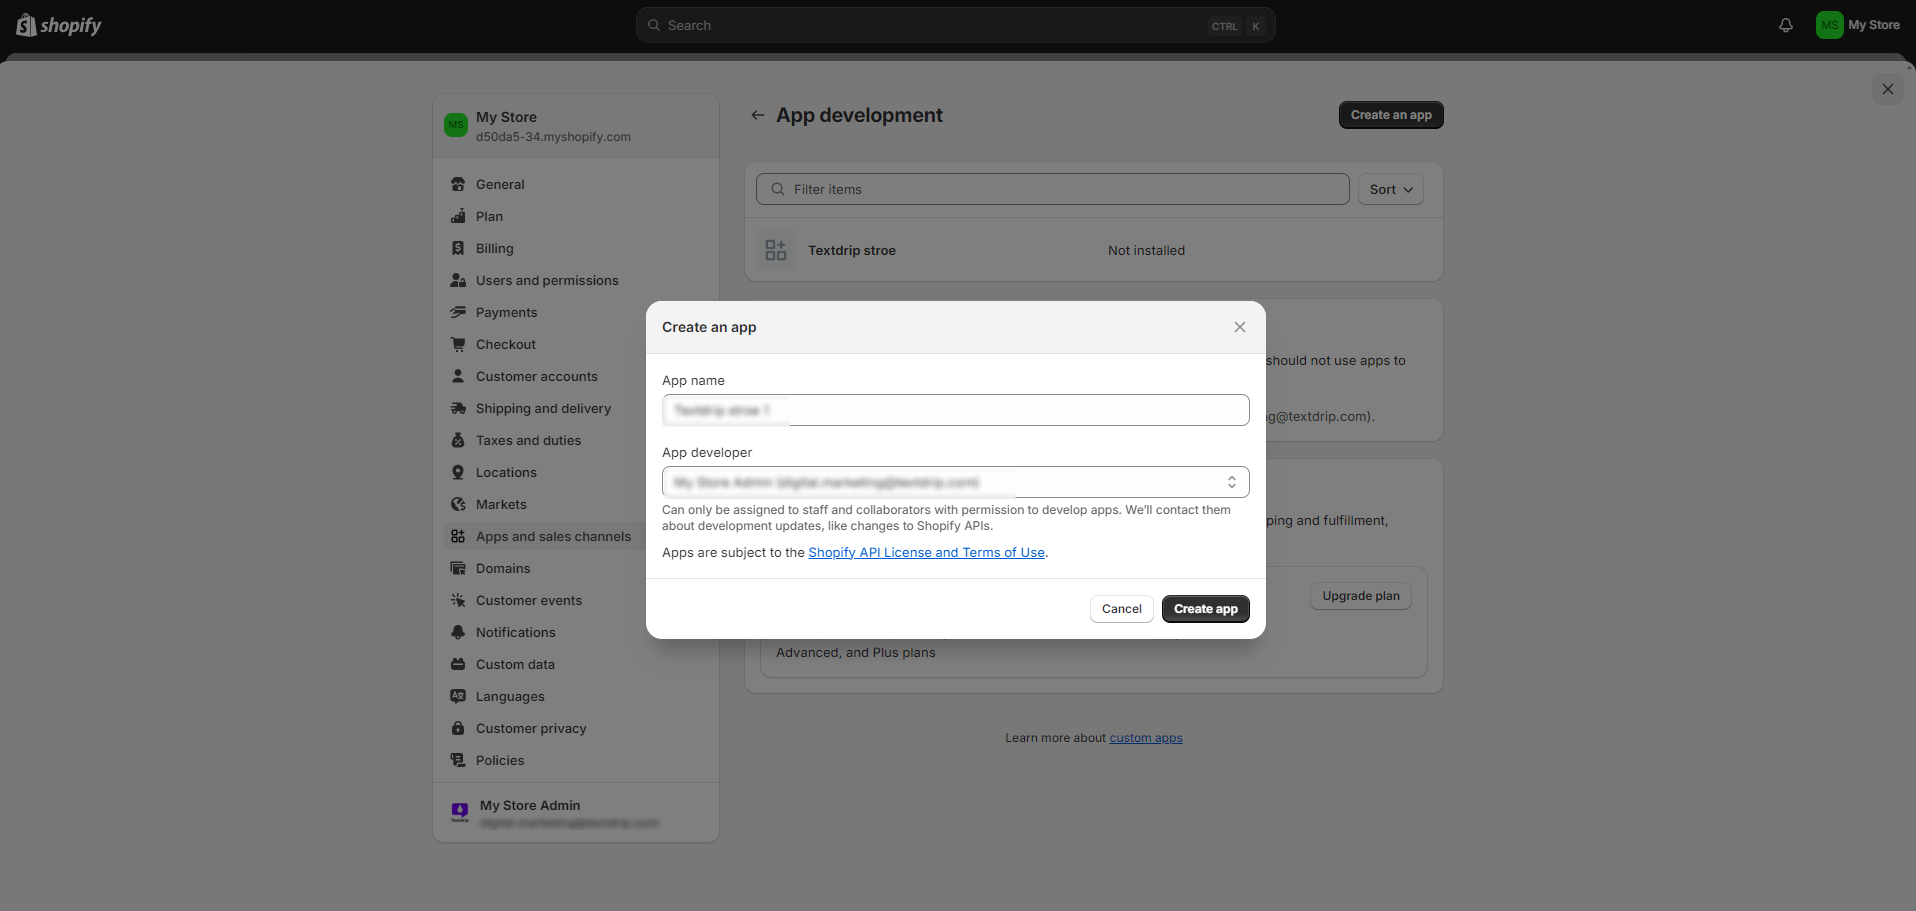
Find and click on ‘Configure Admin API scopes’.
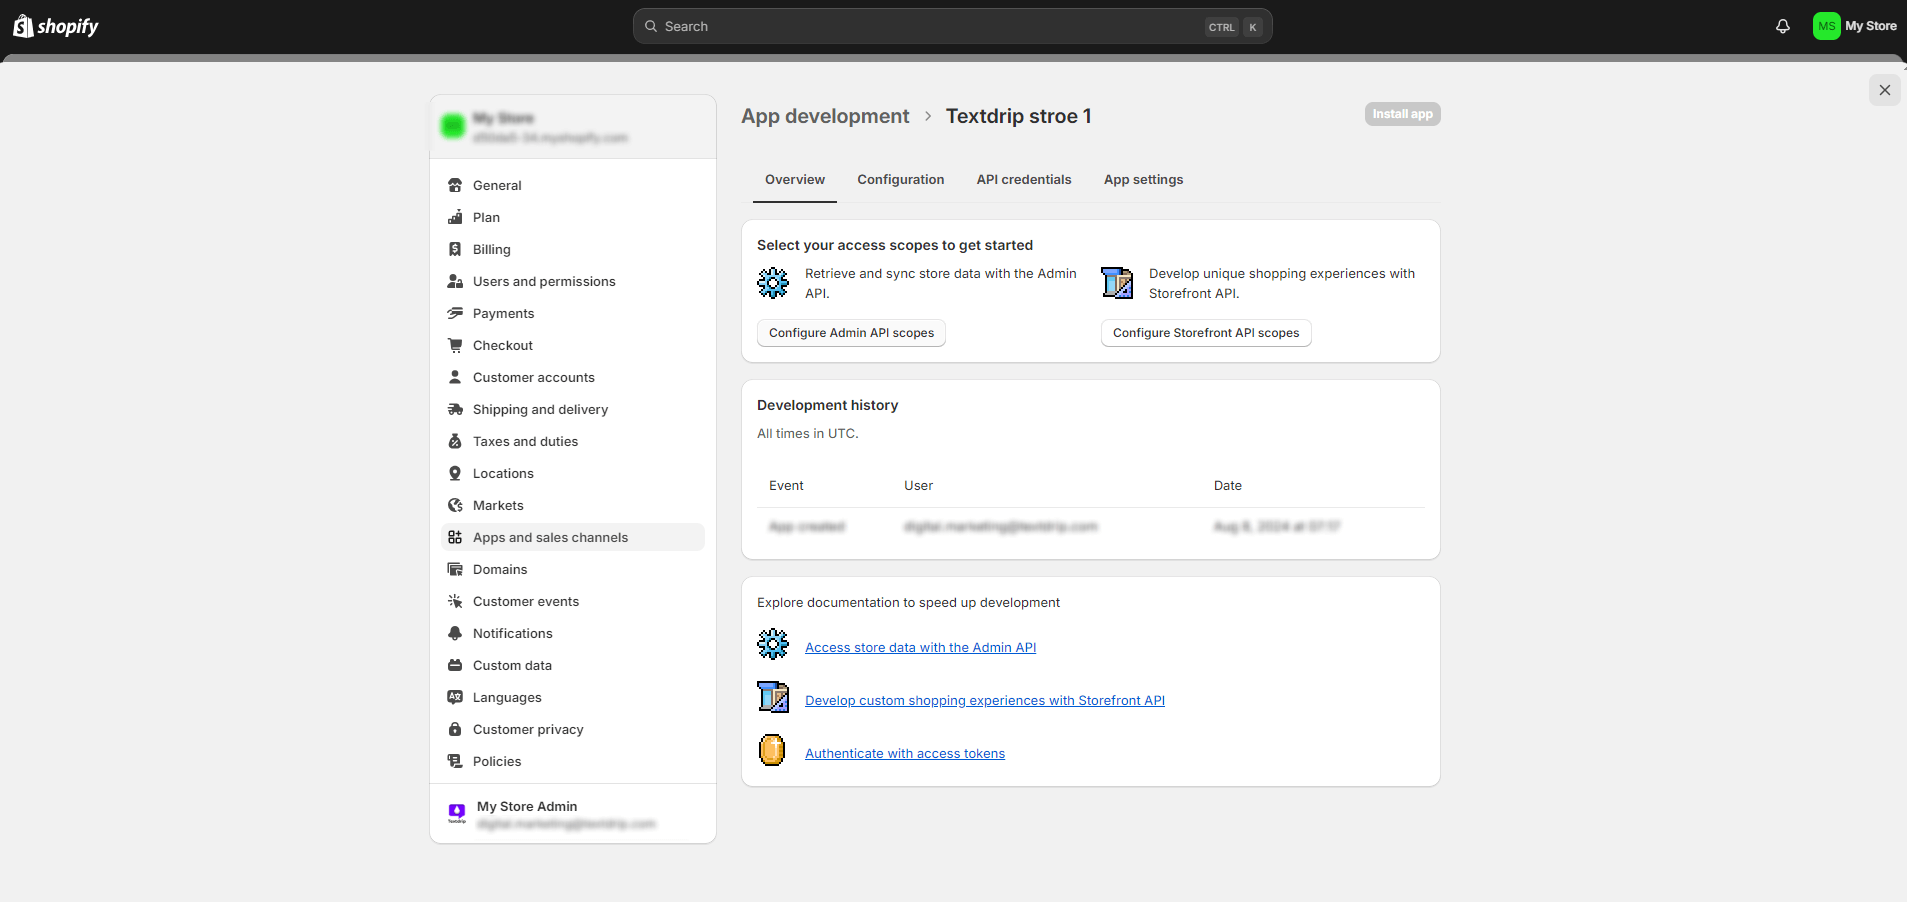
Check the following boxes: Customers, Draft orders, Orders.
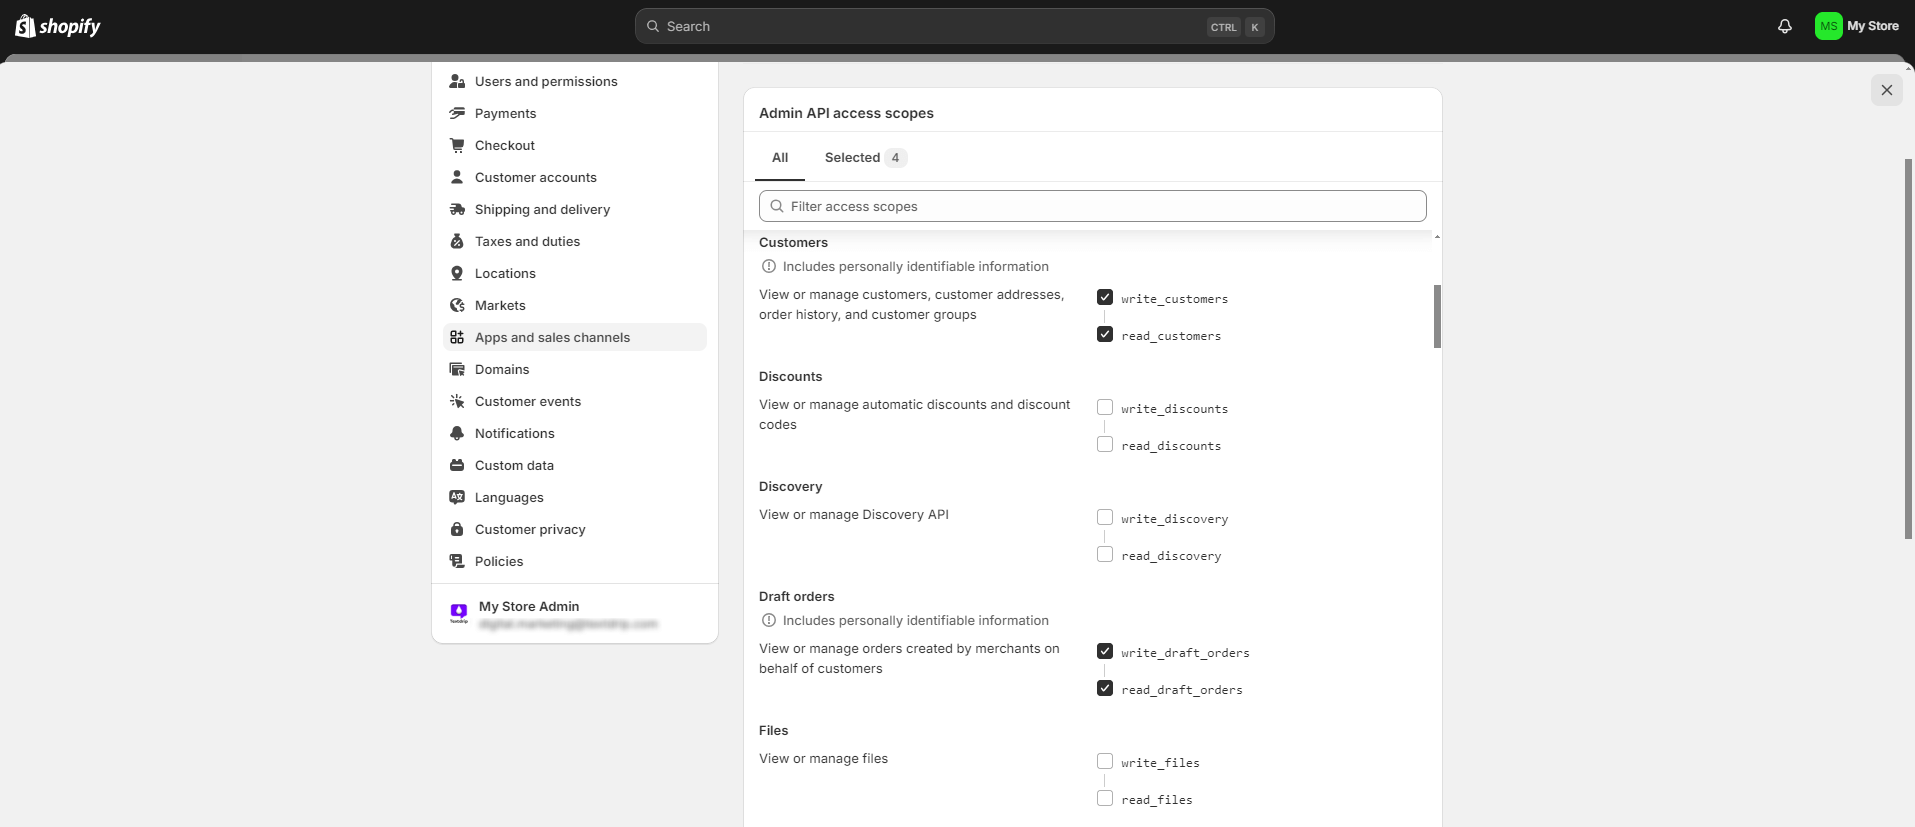
Click on ‘Save’ to apply these permissions.
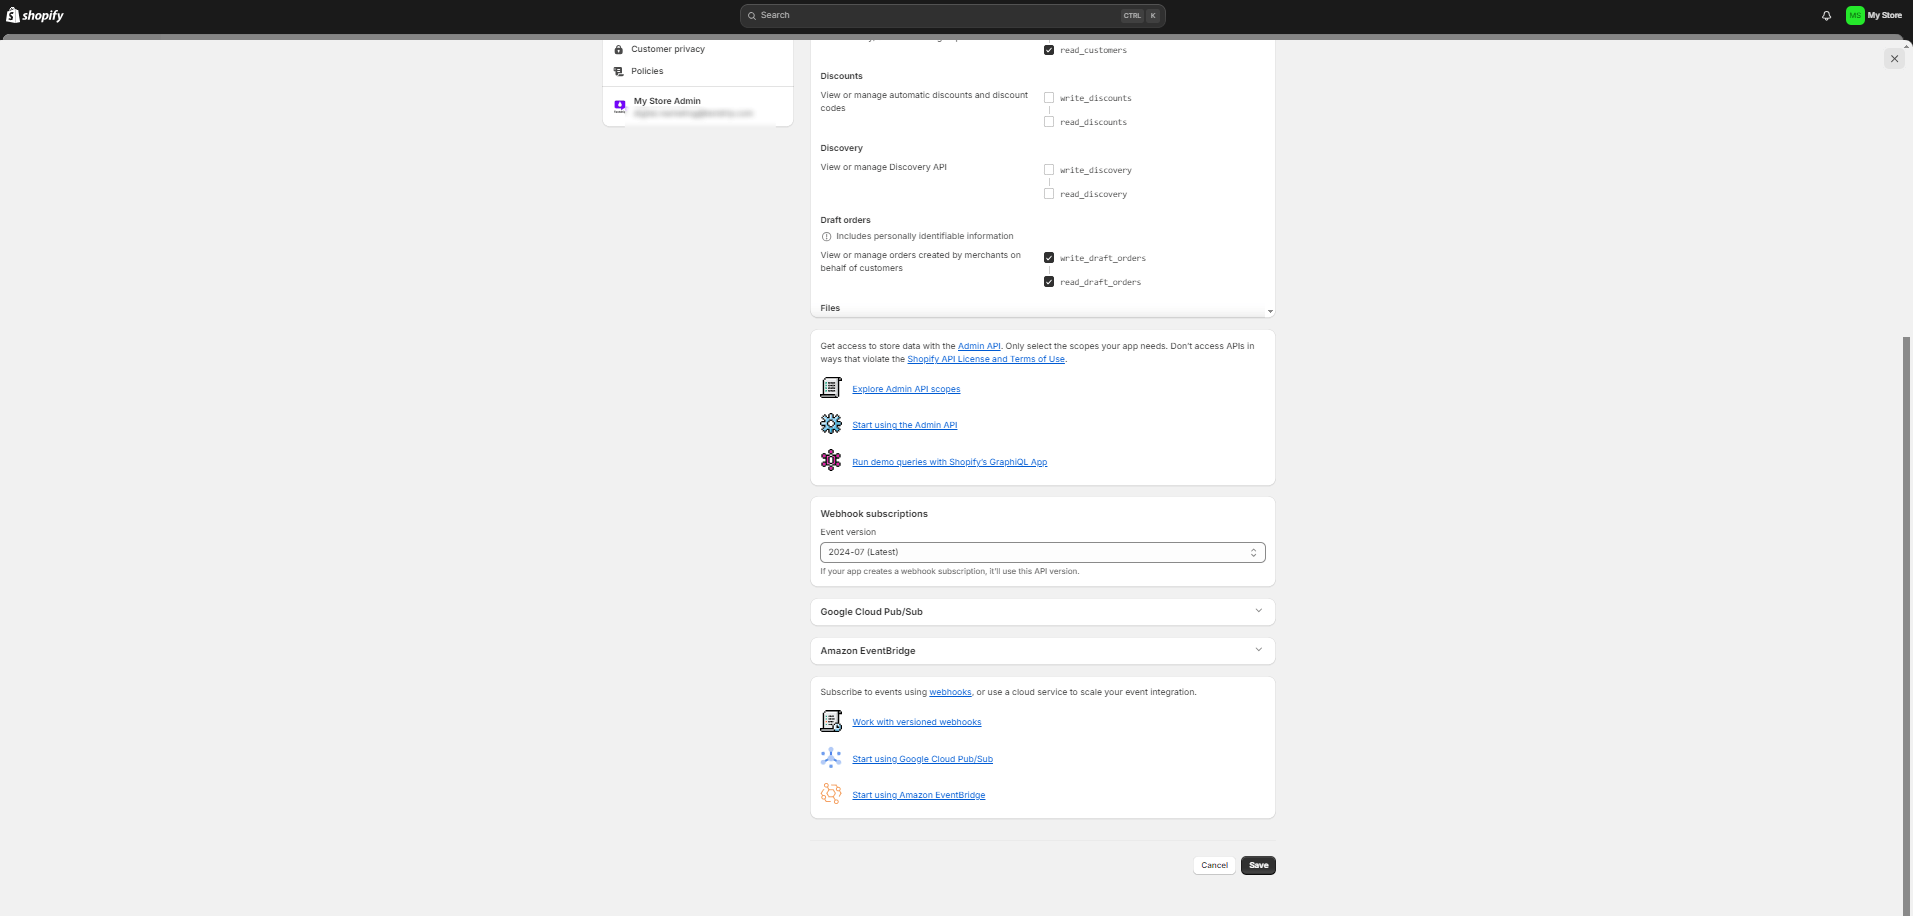
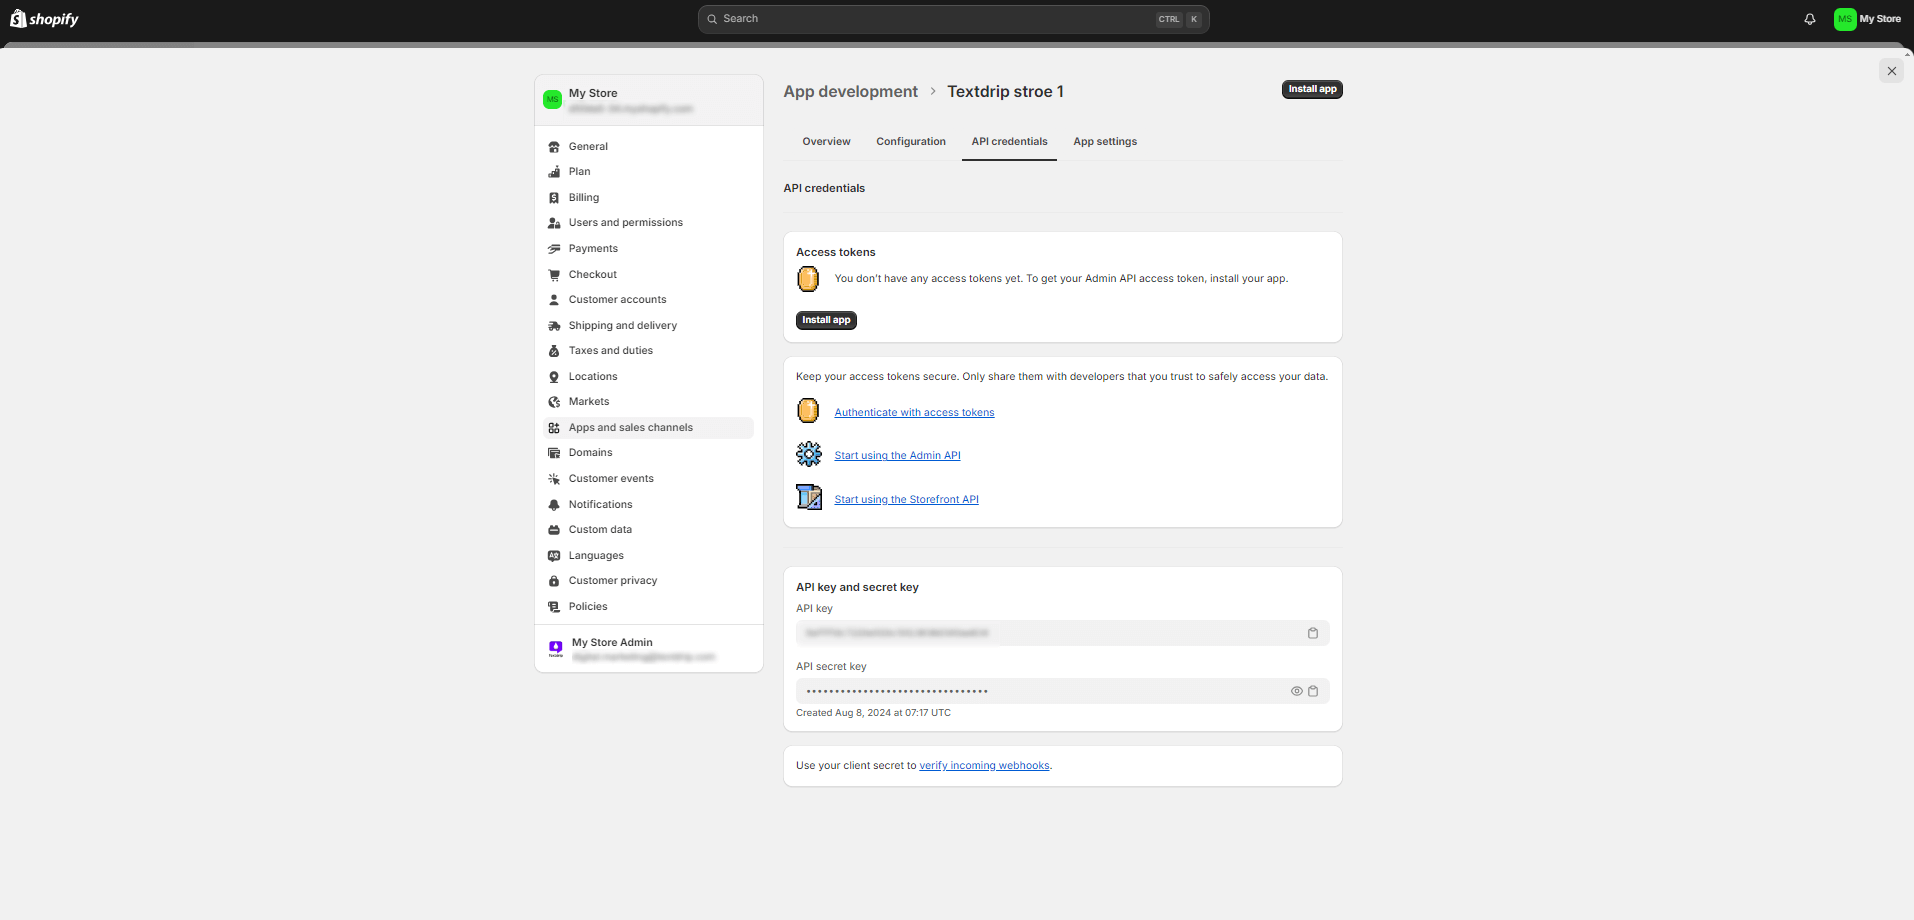
Go to the ‘API credentials’ section. Click on ‘Install app’ to generate the access token.
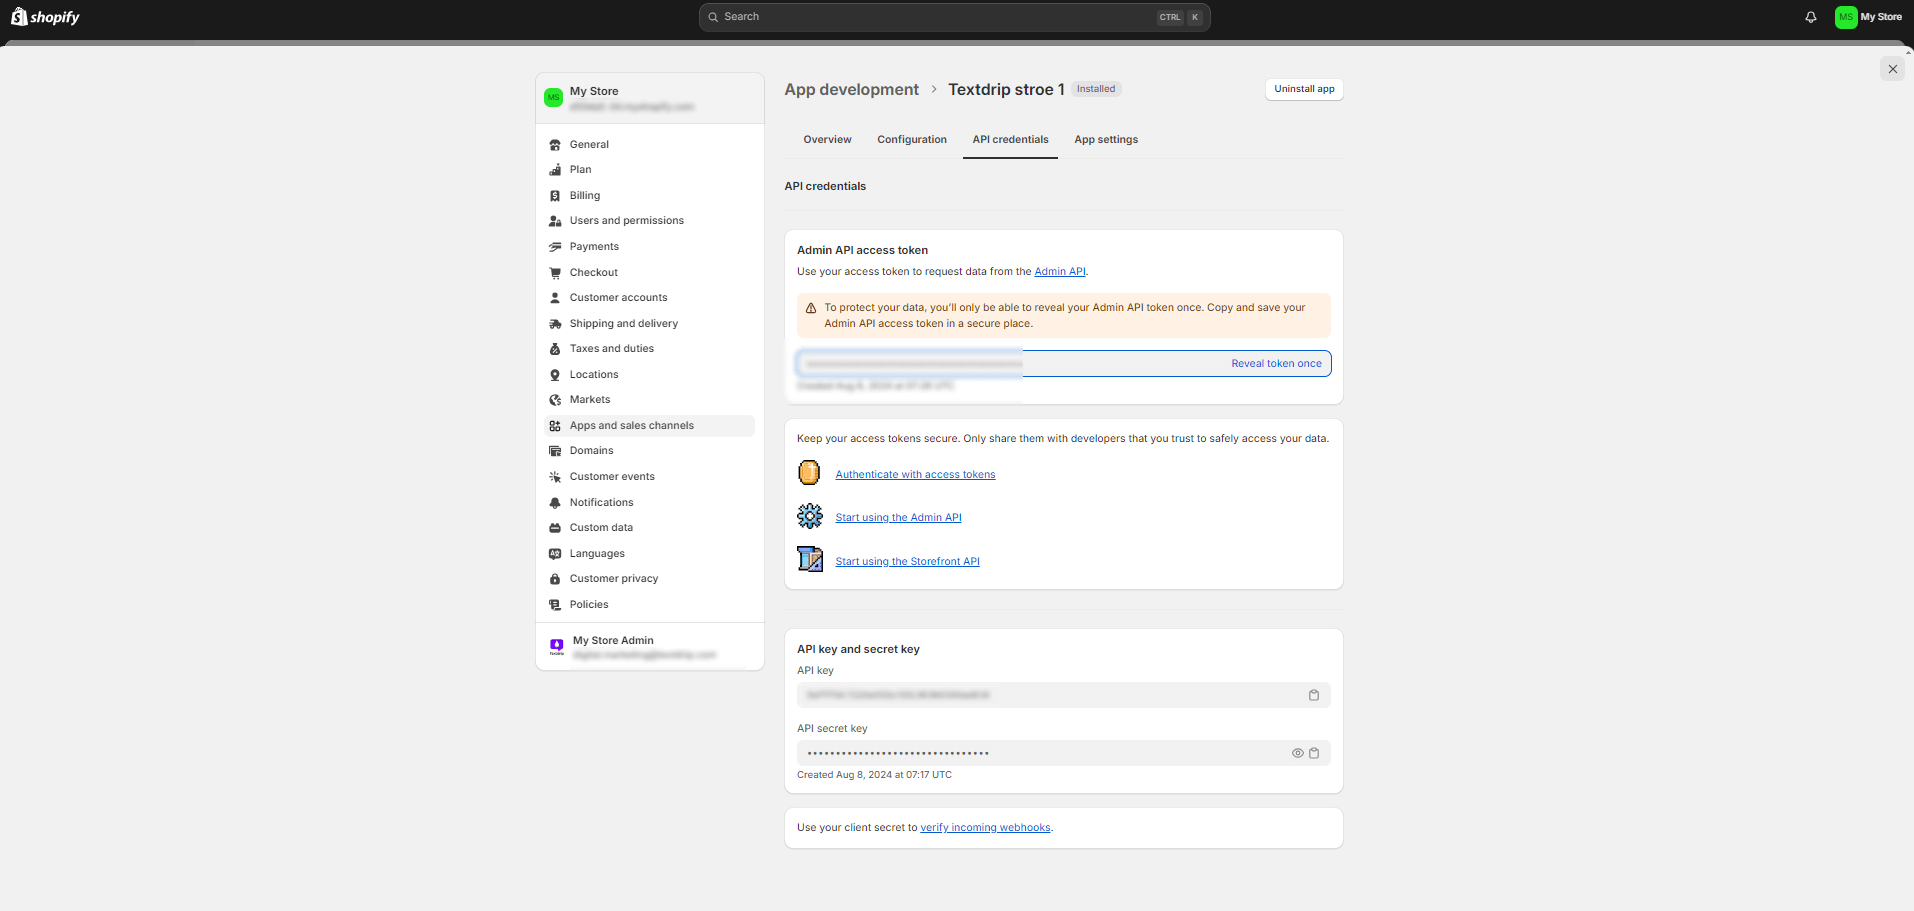
Once the app is installed, find and click on ‘Reveal token’ to view and copy your token
(Important: If you leave this page without copying the token, it will no longer be available, and you will need to create a new app.)
Go back to your Textdrip admin account. In the integration setup window, paste the following information:
After pasting all the required information, click on the ‘Continue’ button to finalize the integration.
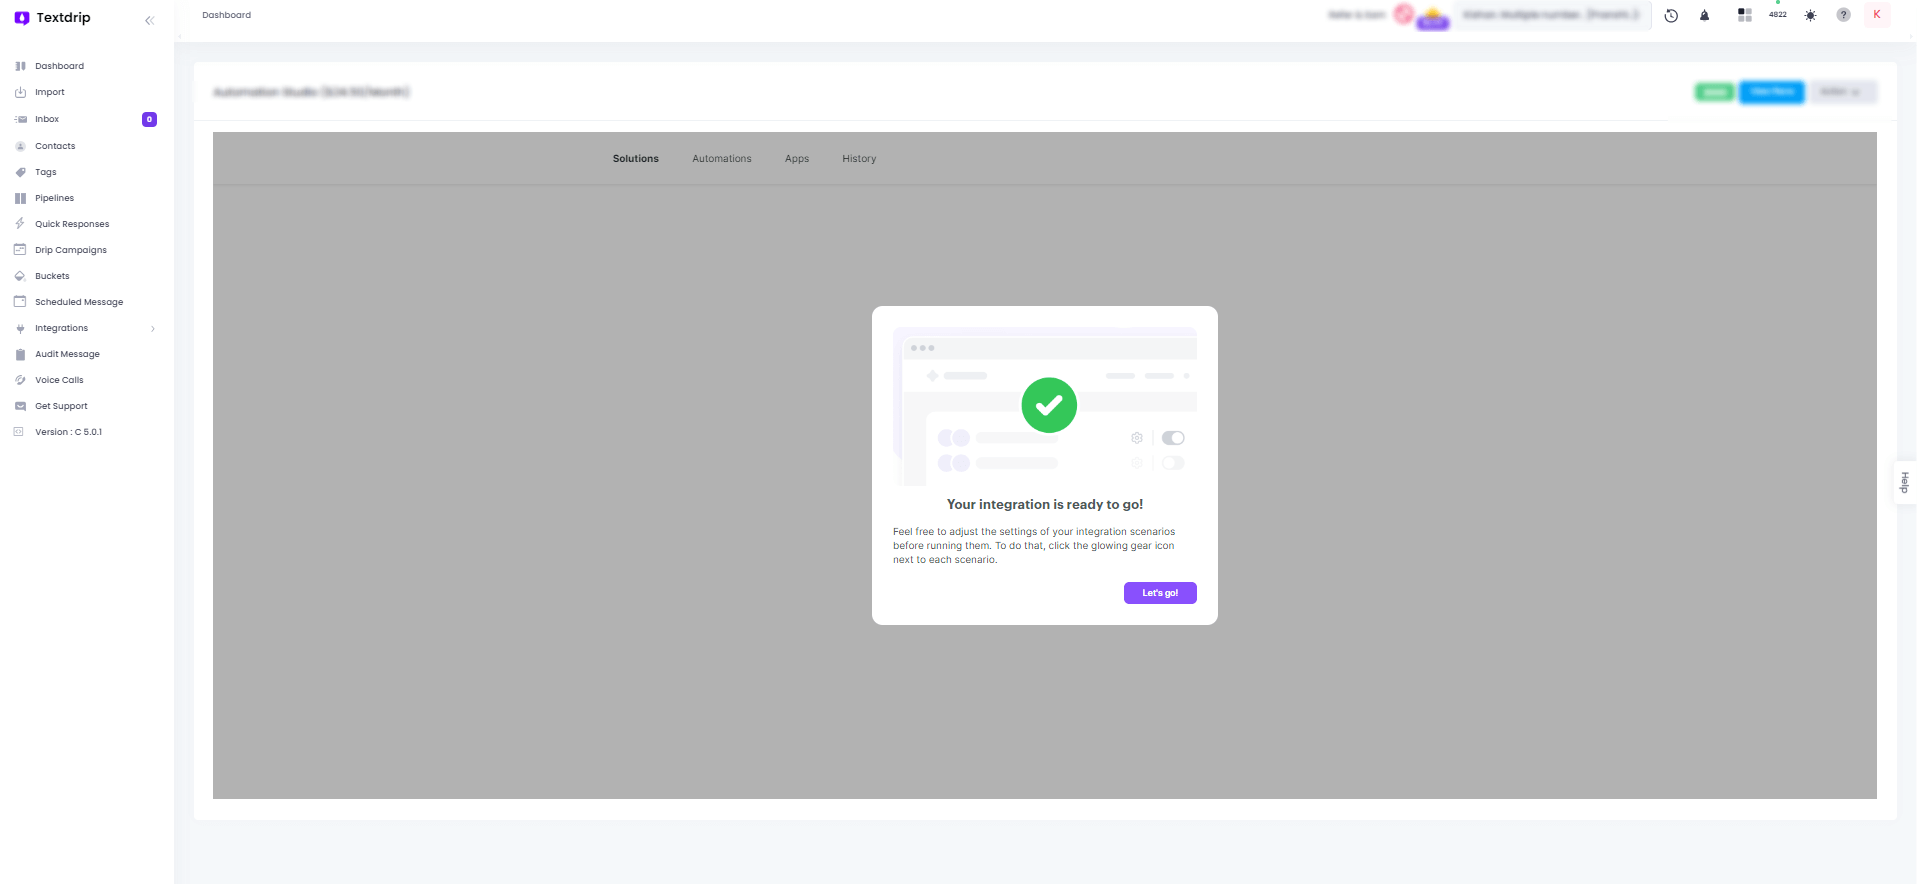
Woohoo! Your integration between Shopify and Textdrip is ready to go. Now, your automation scenarios will trigger automated messages or notifications through Textdrip based on the events happening in your Shopify store.
If you want to explore more advanced configurations. Click Here